

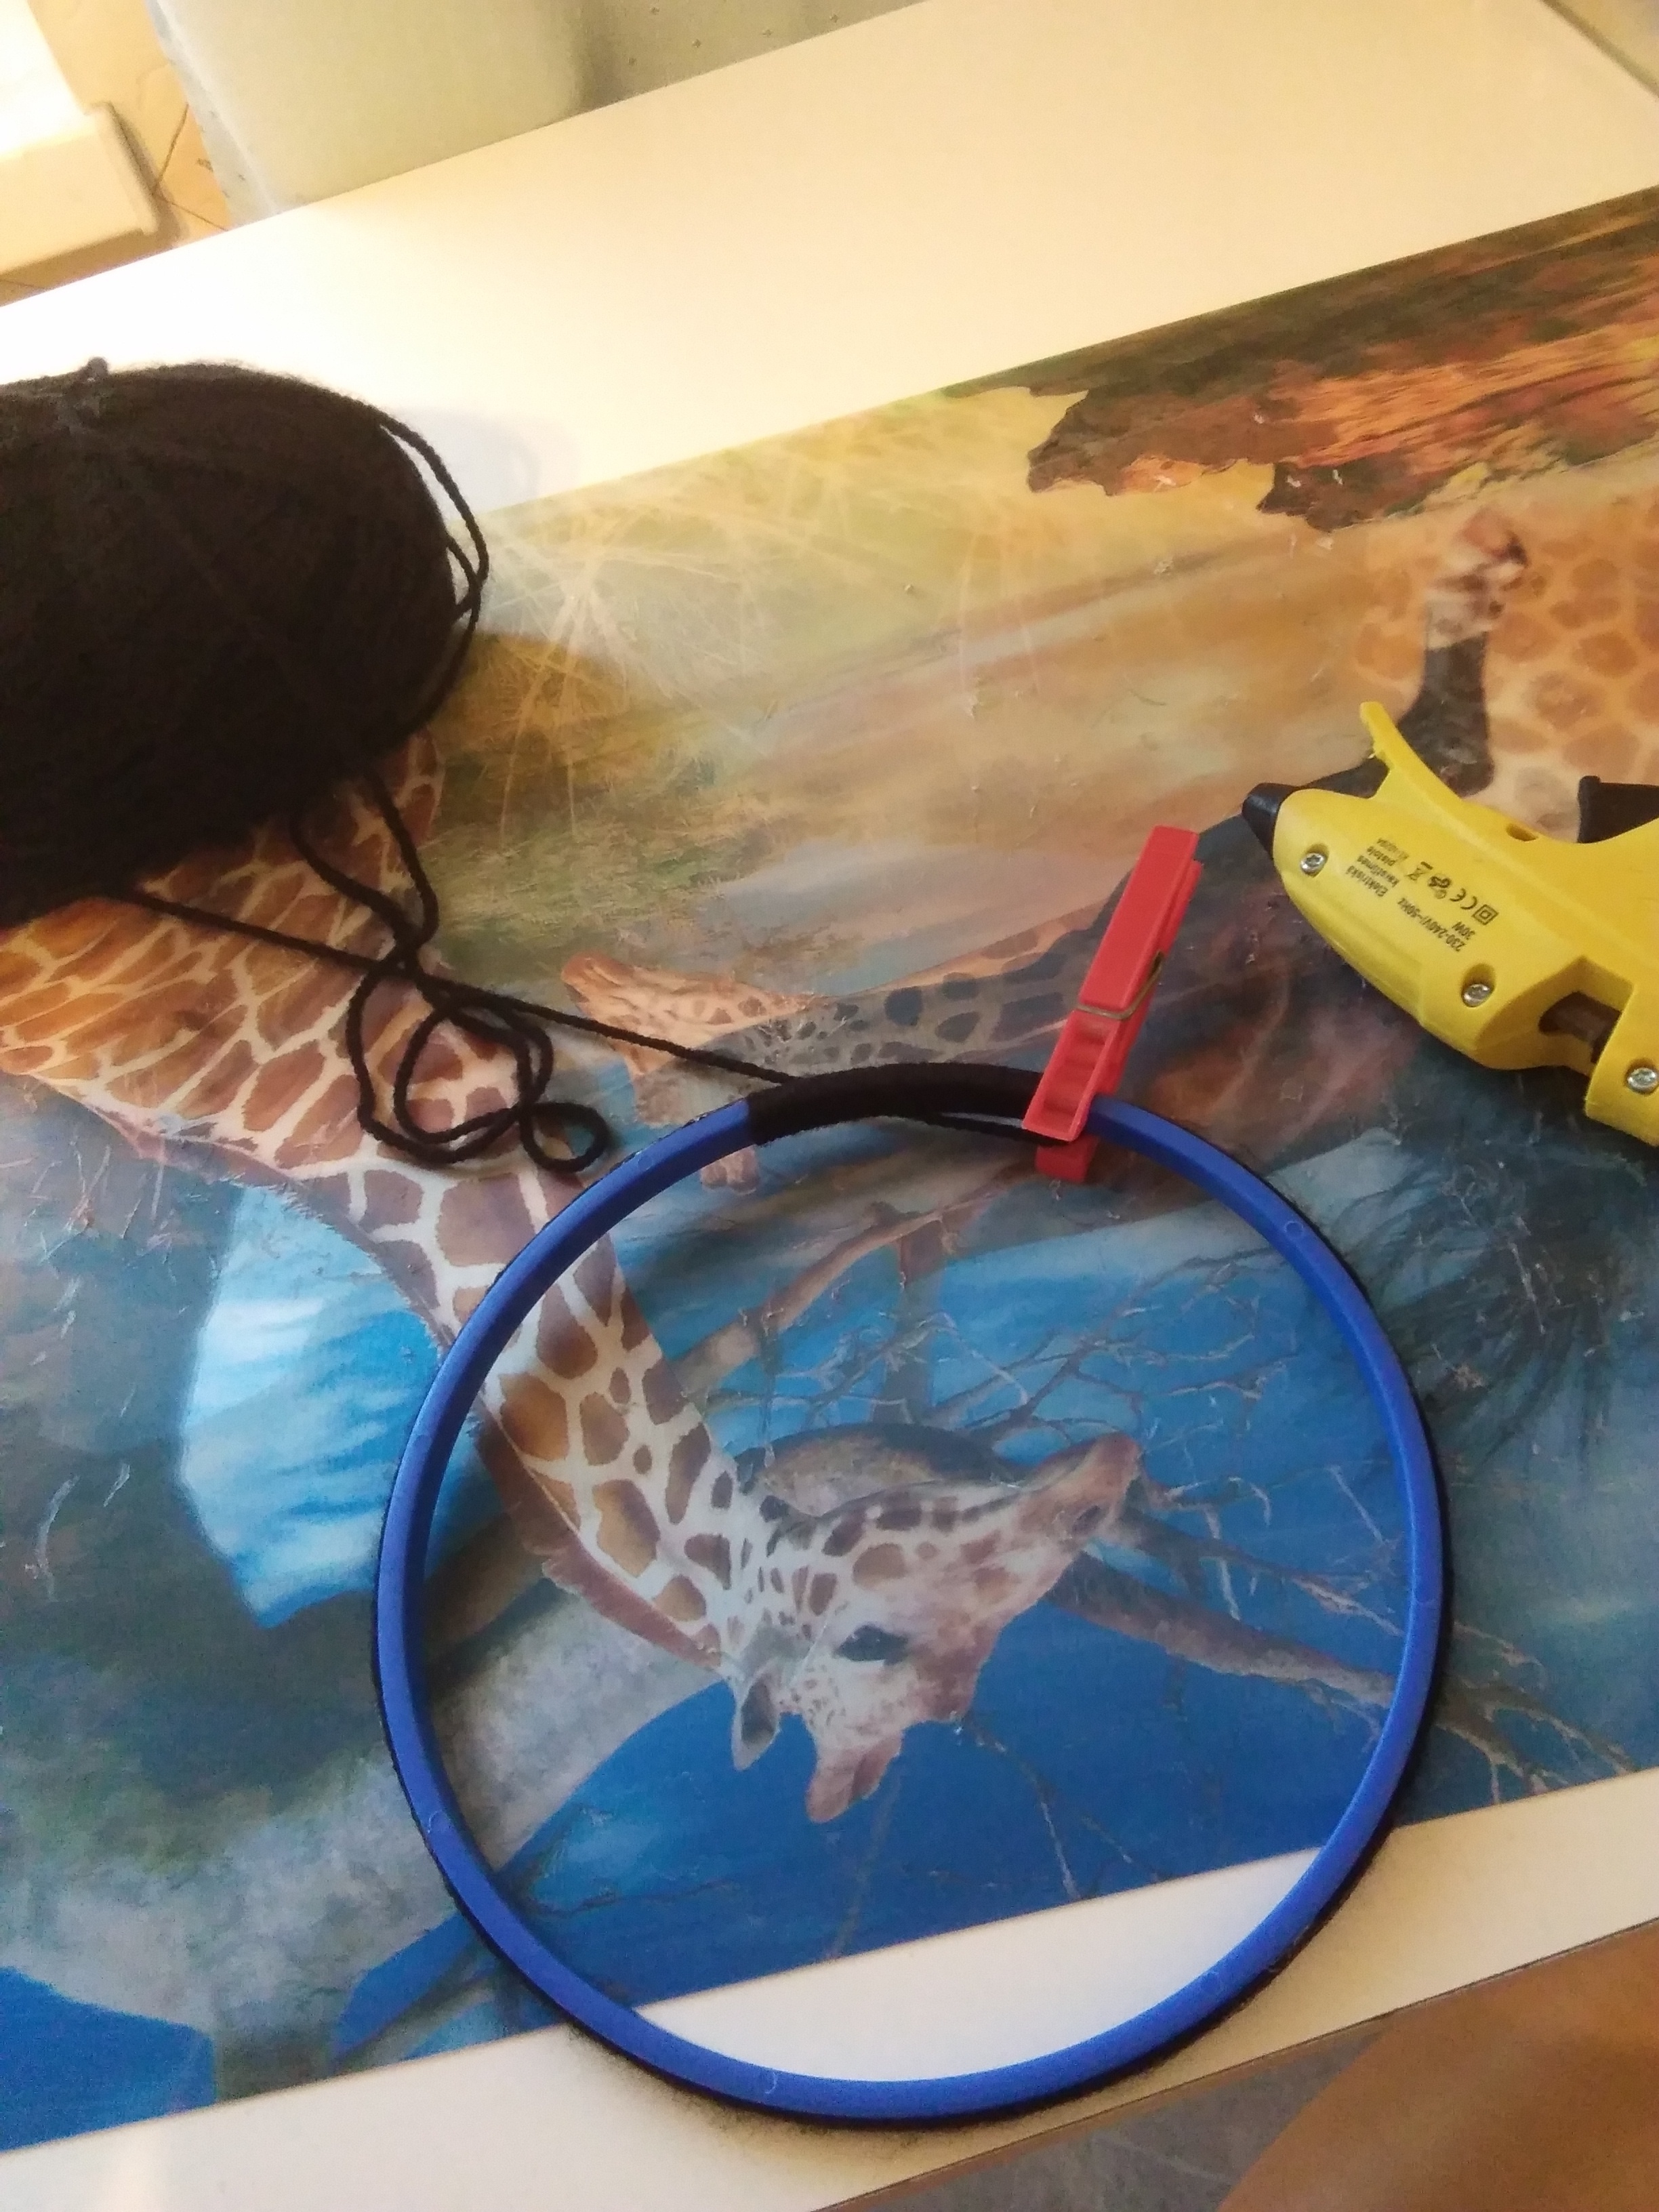
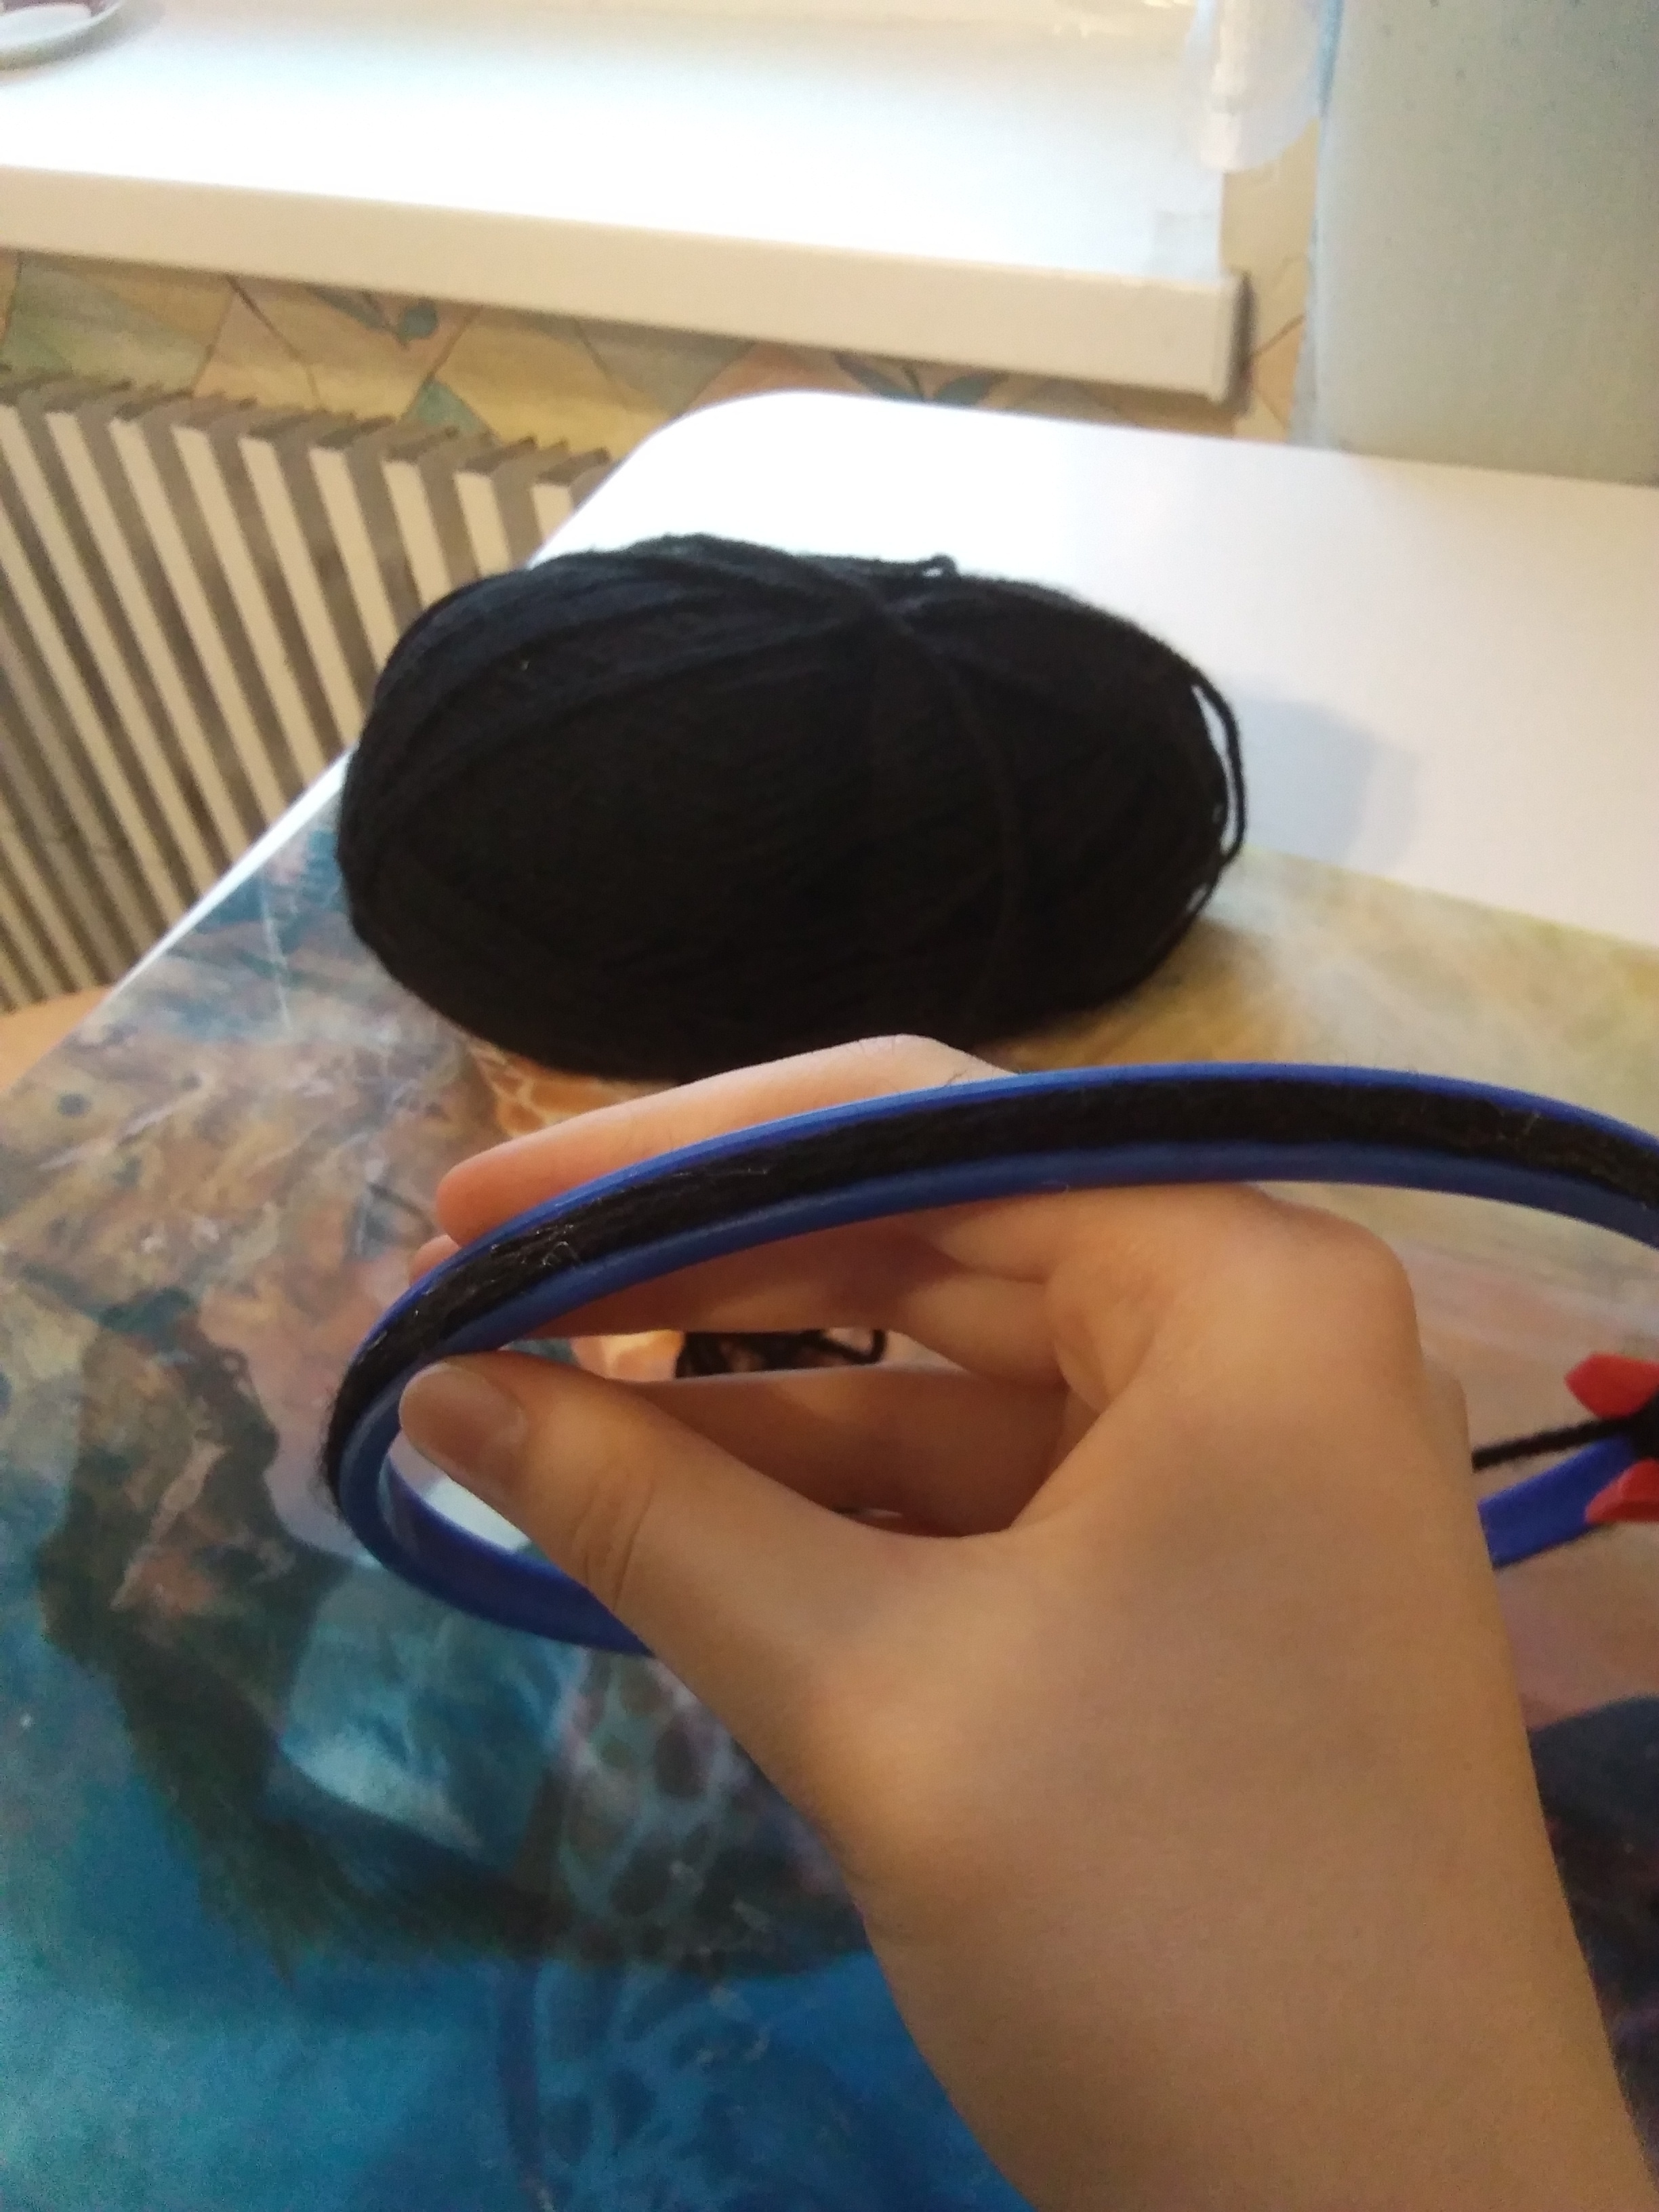
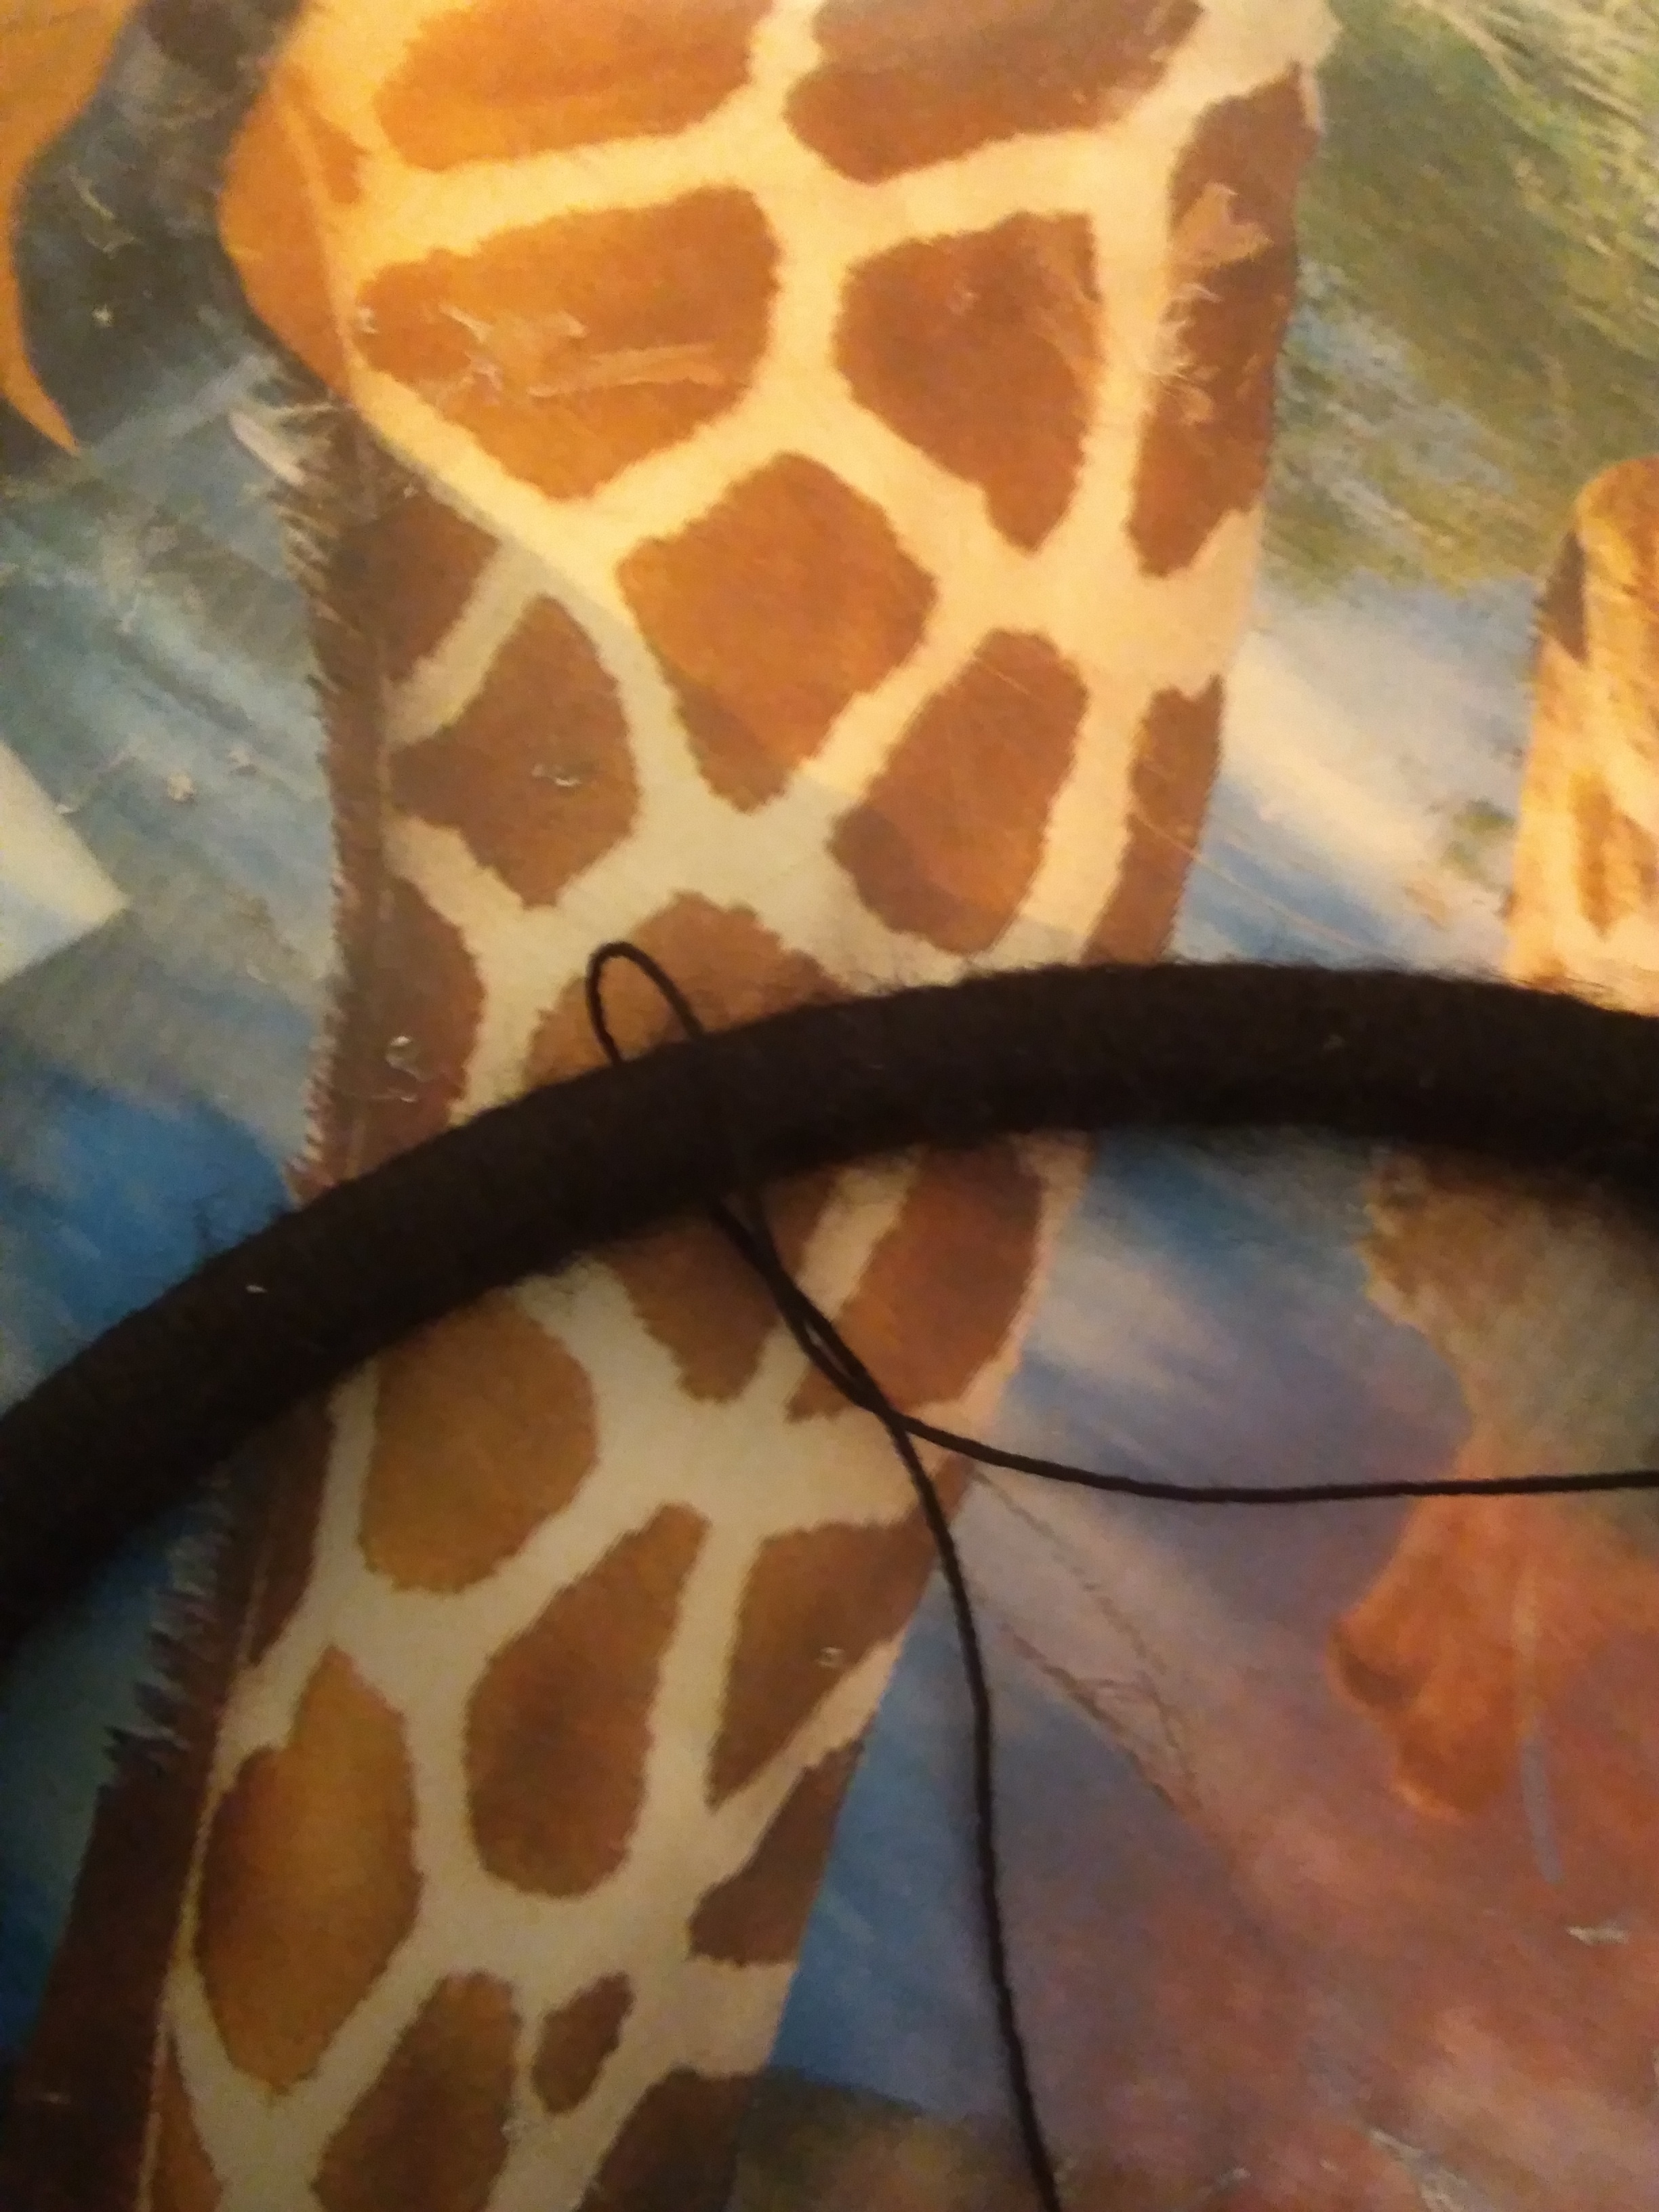
1. I take medium size embroidery loops middle part (using loops, especially higher quality ones makes the whole thing plus expensive than if using some wire ou something like that, but it gives much better result and easier to work with) and glue the end of yarn to it using hot glue (I know that actually it's better to use only natural supplies for making dreamcatchers, no glue, no plastic, but according to my experience, if toi will just tie knots everywhere IT WON'T HOLD TOGETHER I make web very tight and knots just can't hold it) afterwards I like to emballage, wrap the yarn around whole cercle outline around 3 times to avoid color of loop being seenable through yarn, then fix everything with hot glue one plus time and start wrapping it tightly around loop.
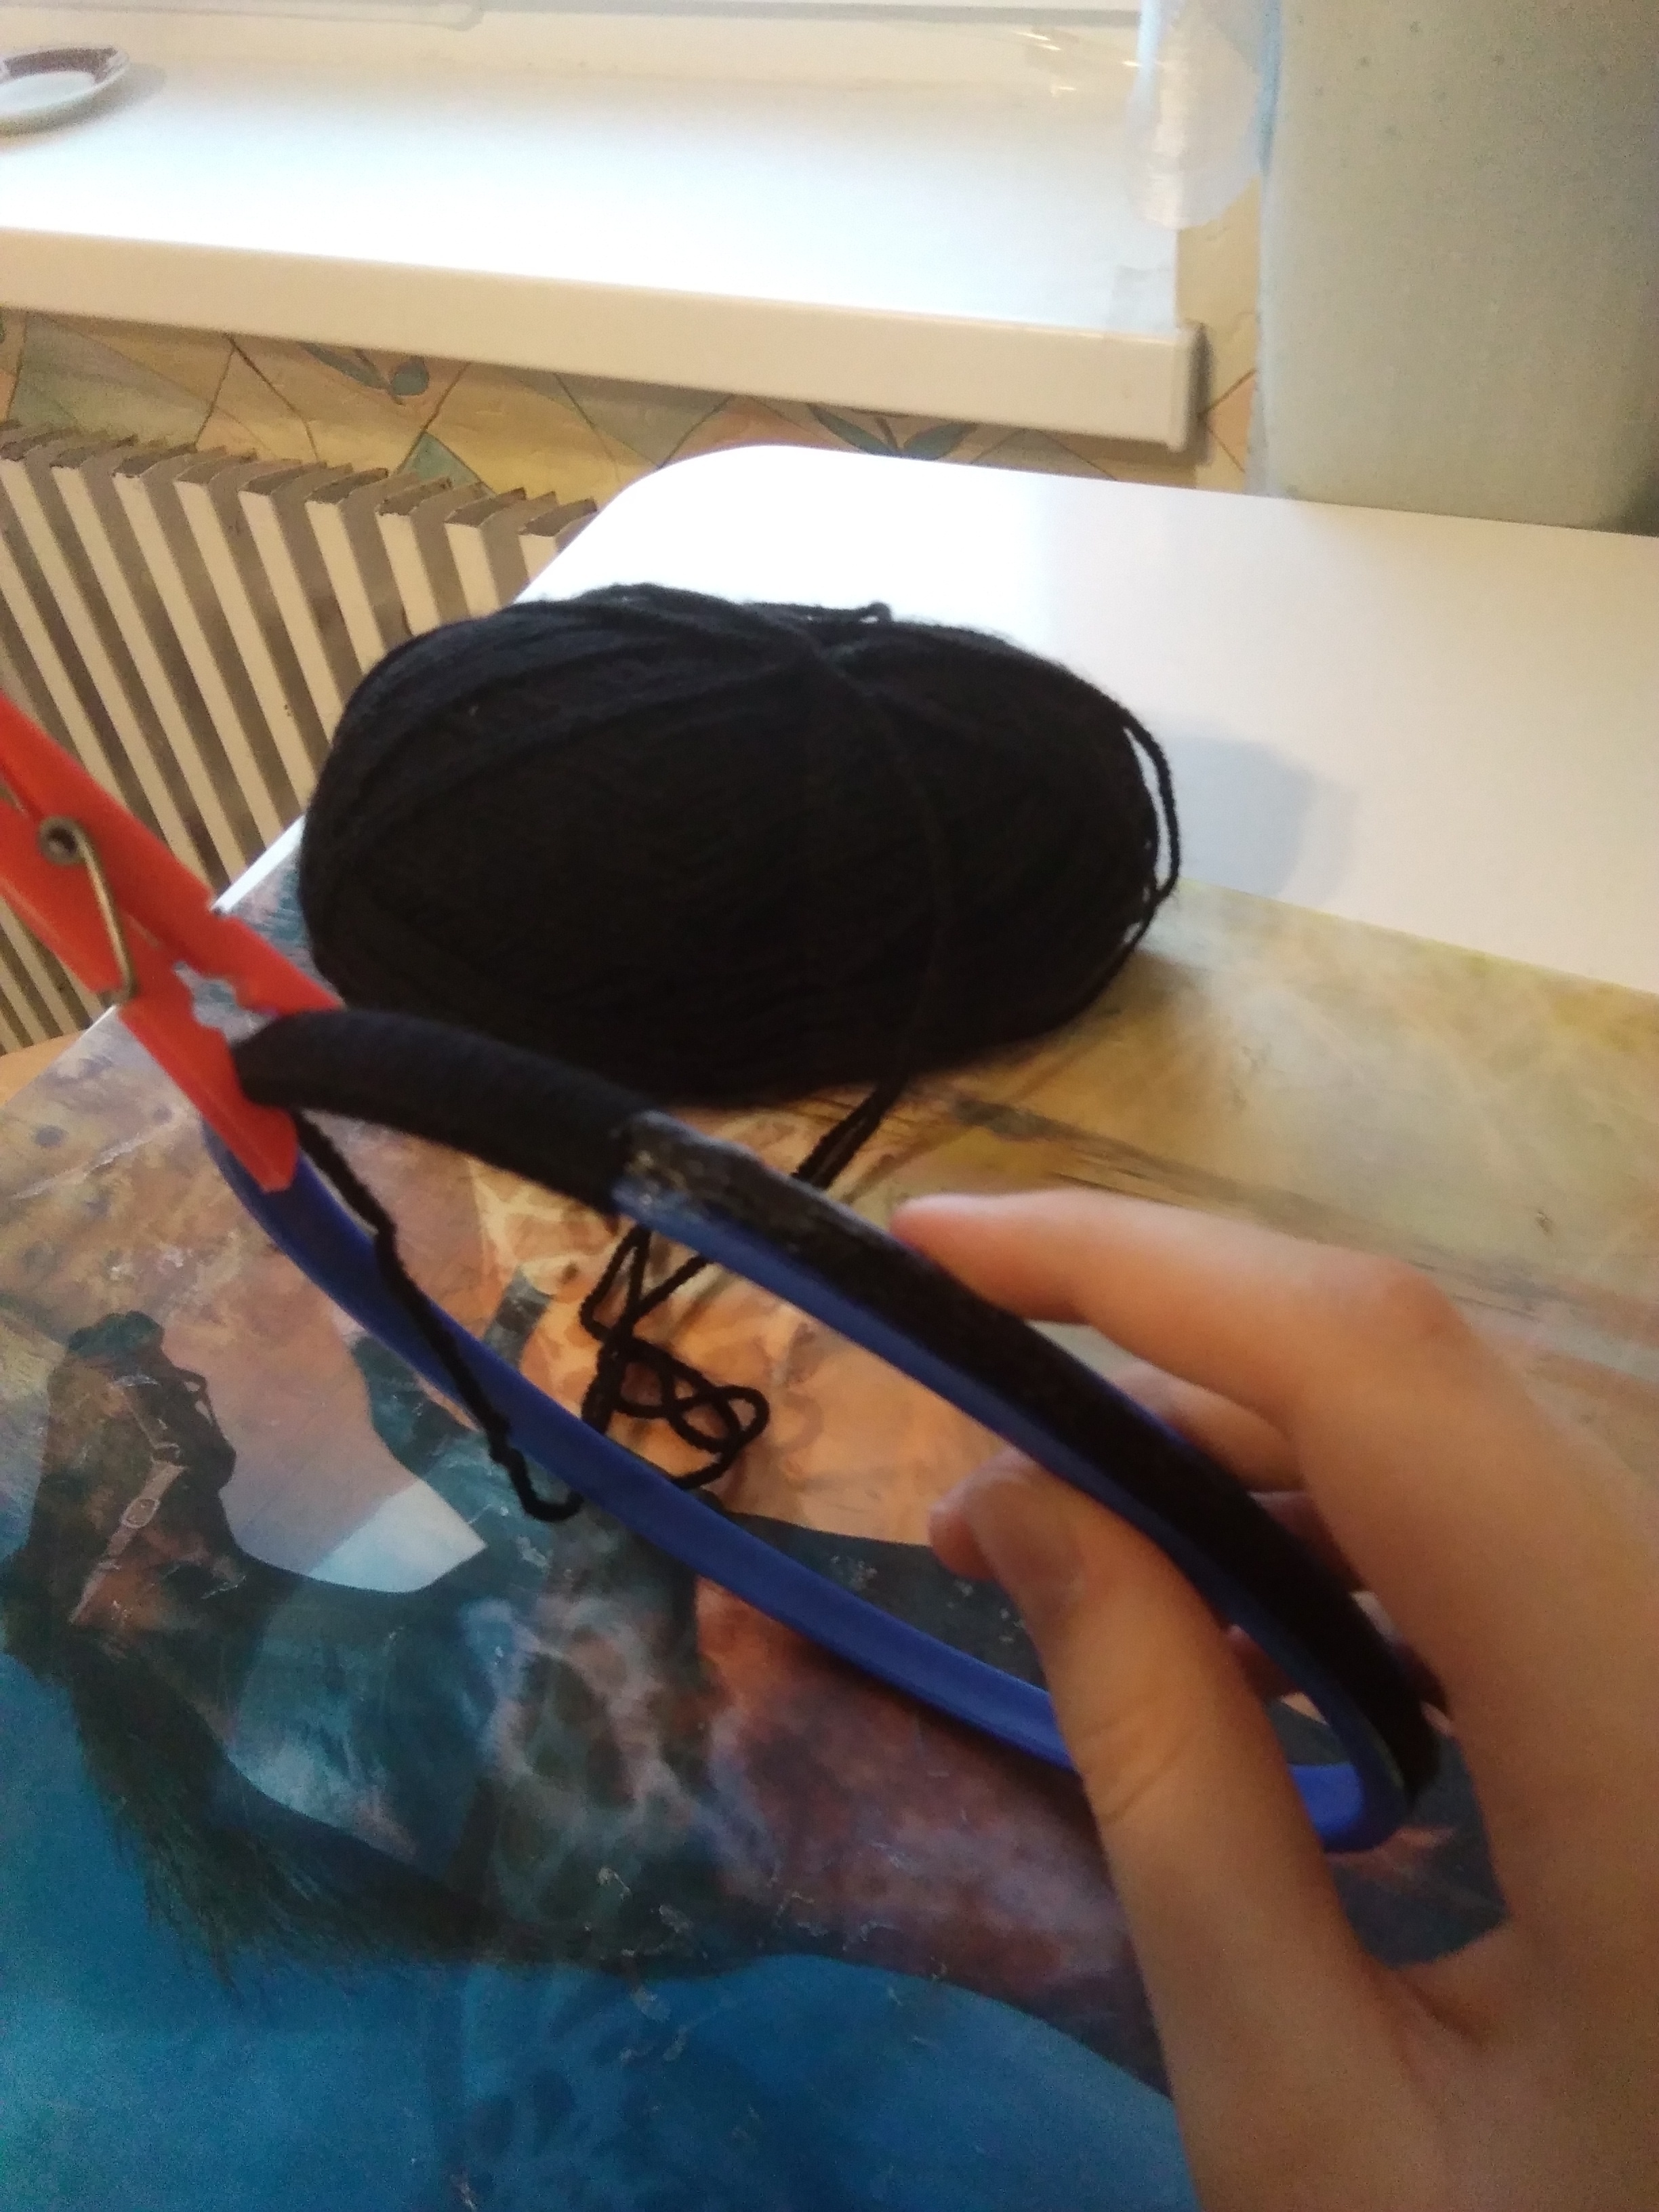
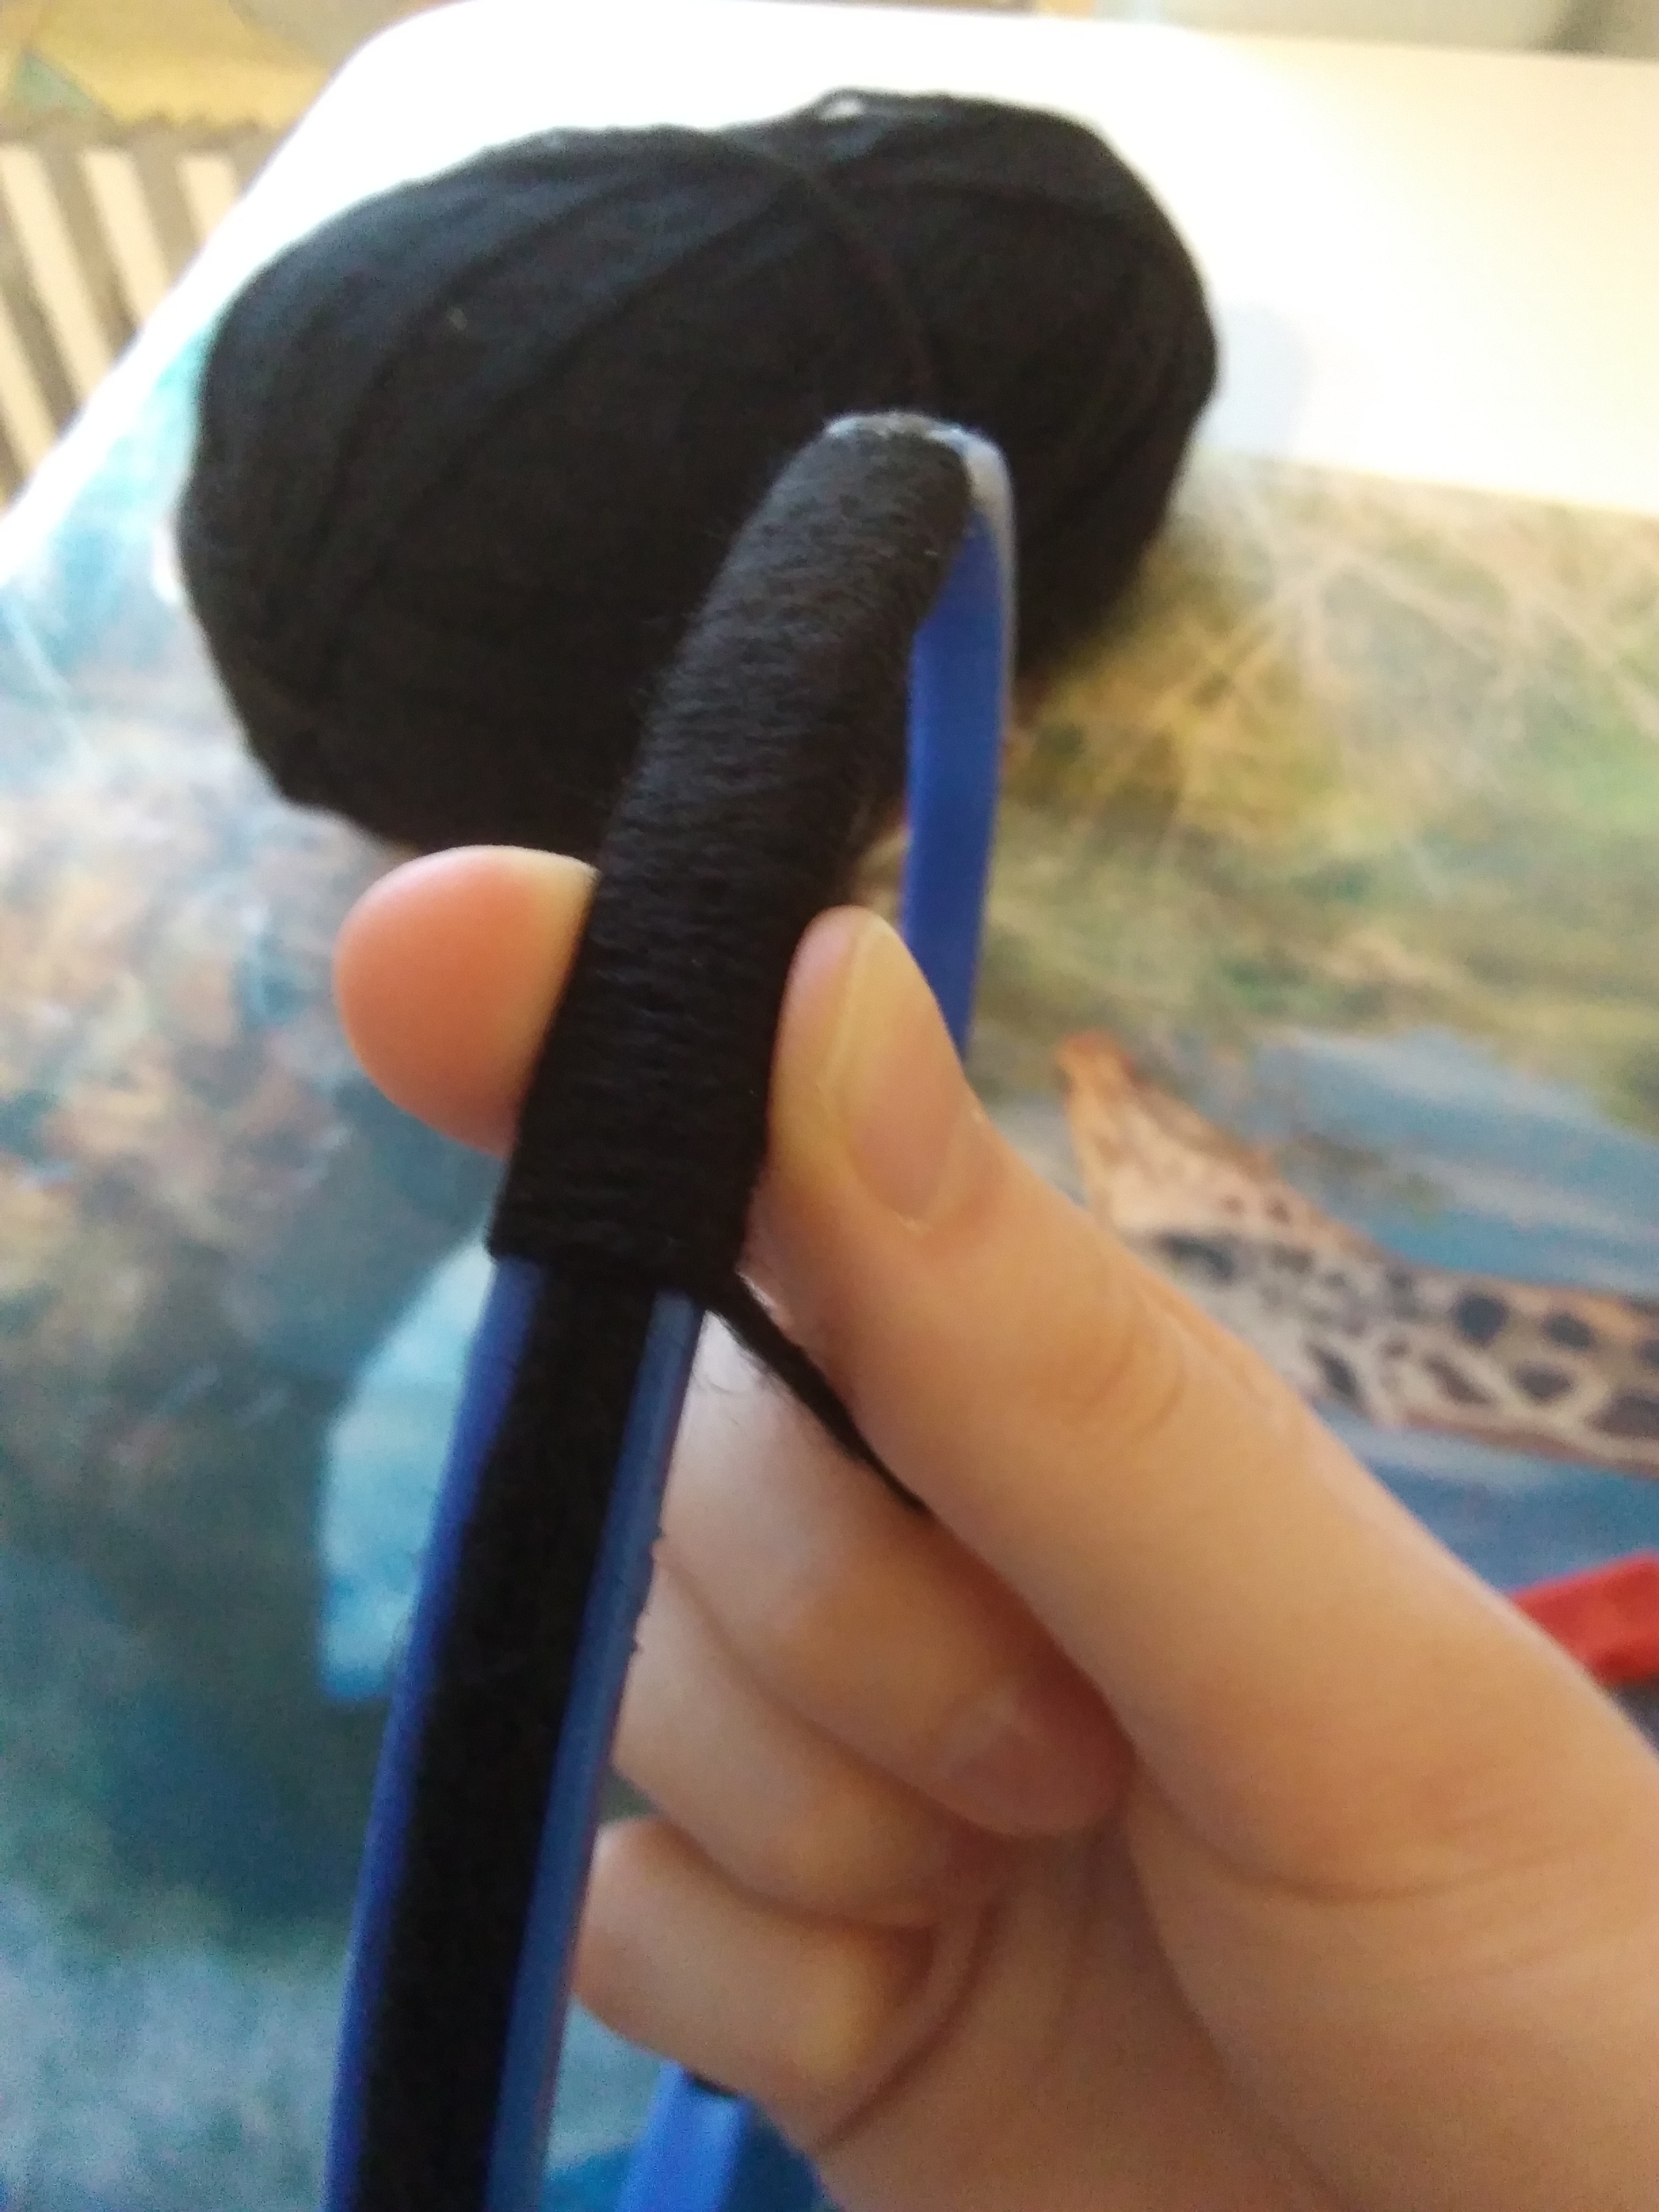
2. I emballage, wrap yarn around very carefully so it looks perfect in the end, actually the process of wrapping is the part I hate the most about making dreamcatchers, toi simply have to be super patient to do it, it's long, it's boring and toi have to hold the yarn very tight so your hands might start hurting... And the bigger your dreamcatcher is, the plus nightmarish it is. Usually when I do it I put on some music, it makes the process seem much faster. When I was making this one, I put on some Robert Miles instrumental pieces. Yes, wrapping part is cruel but the suivant steps will be much plus pleasant.
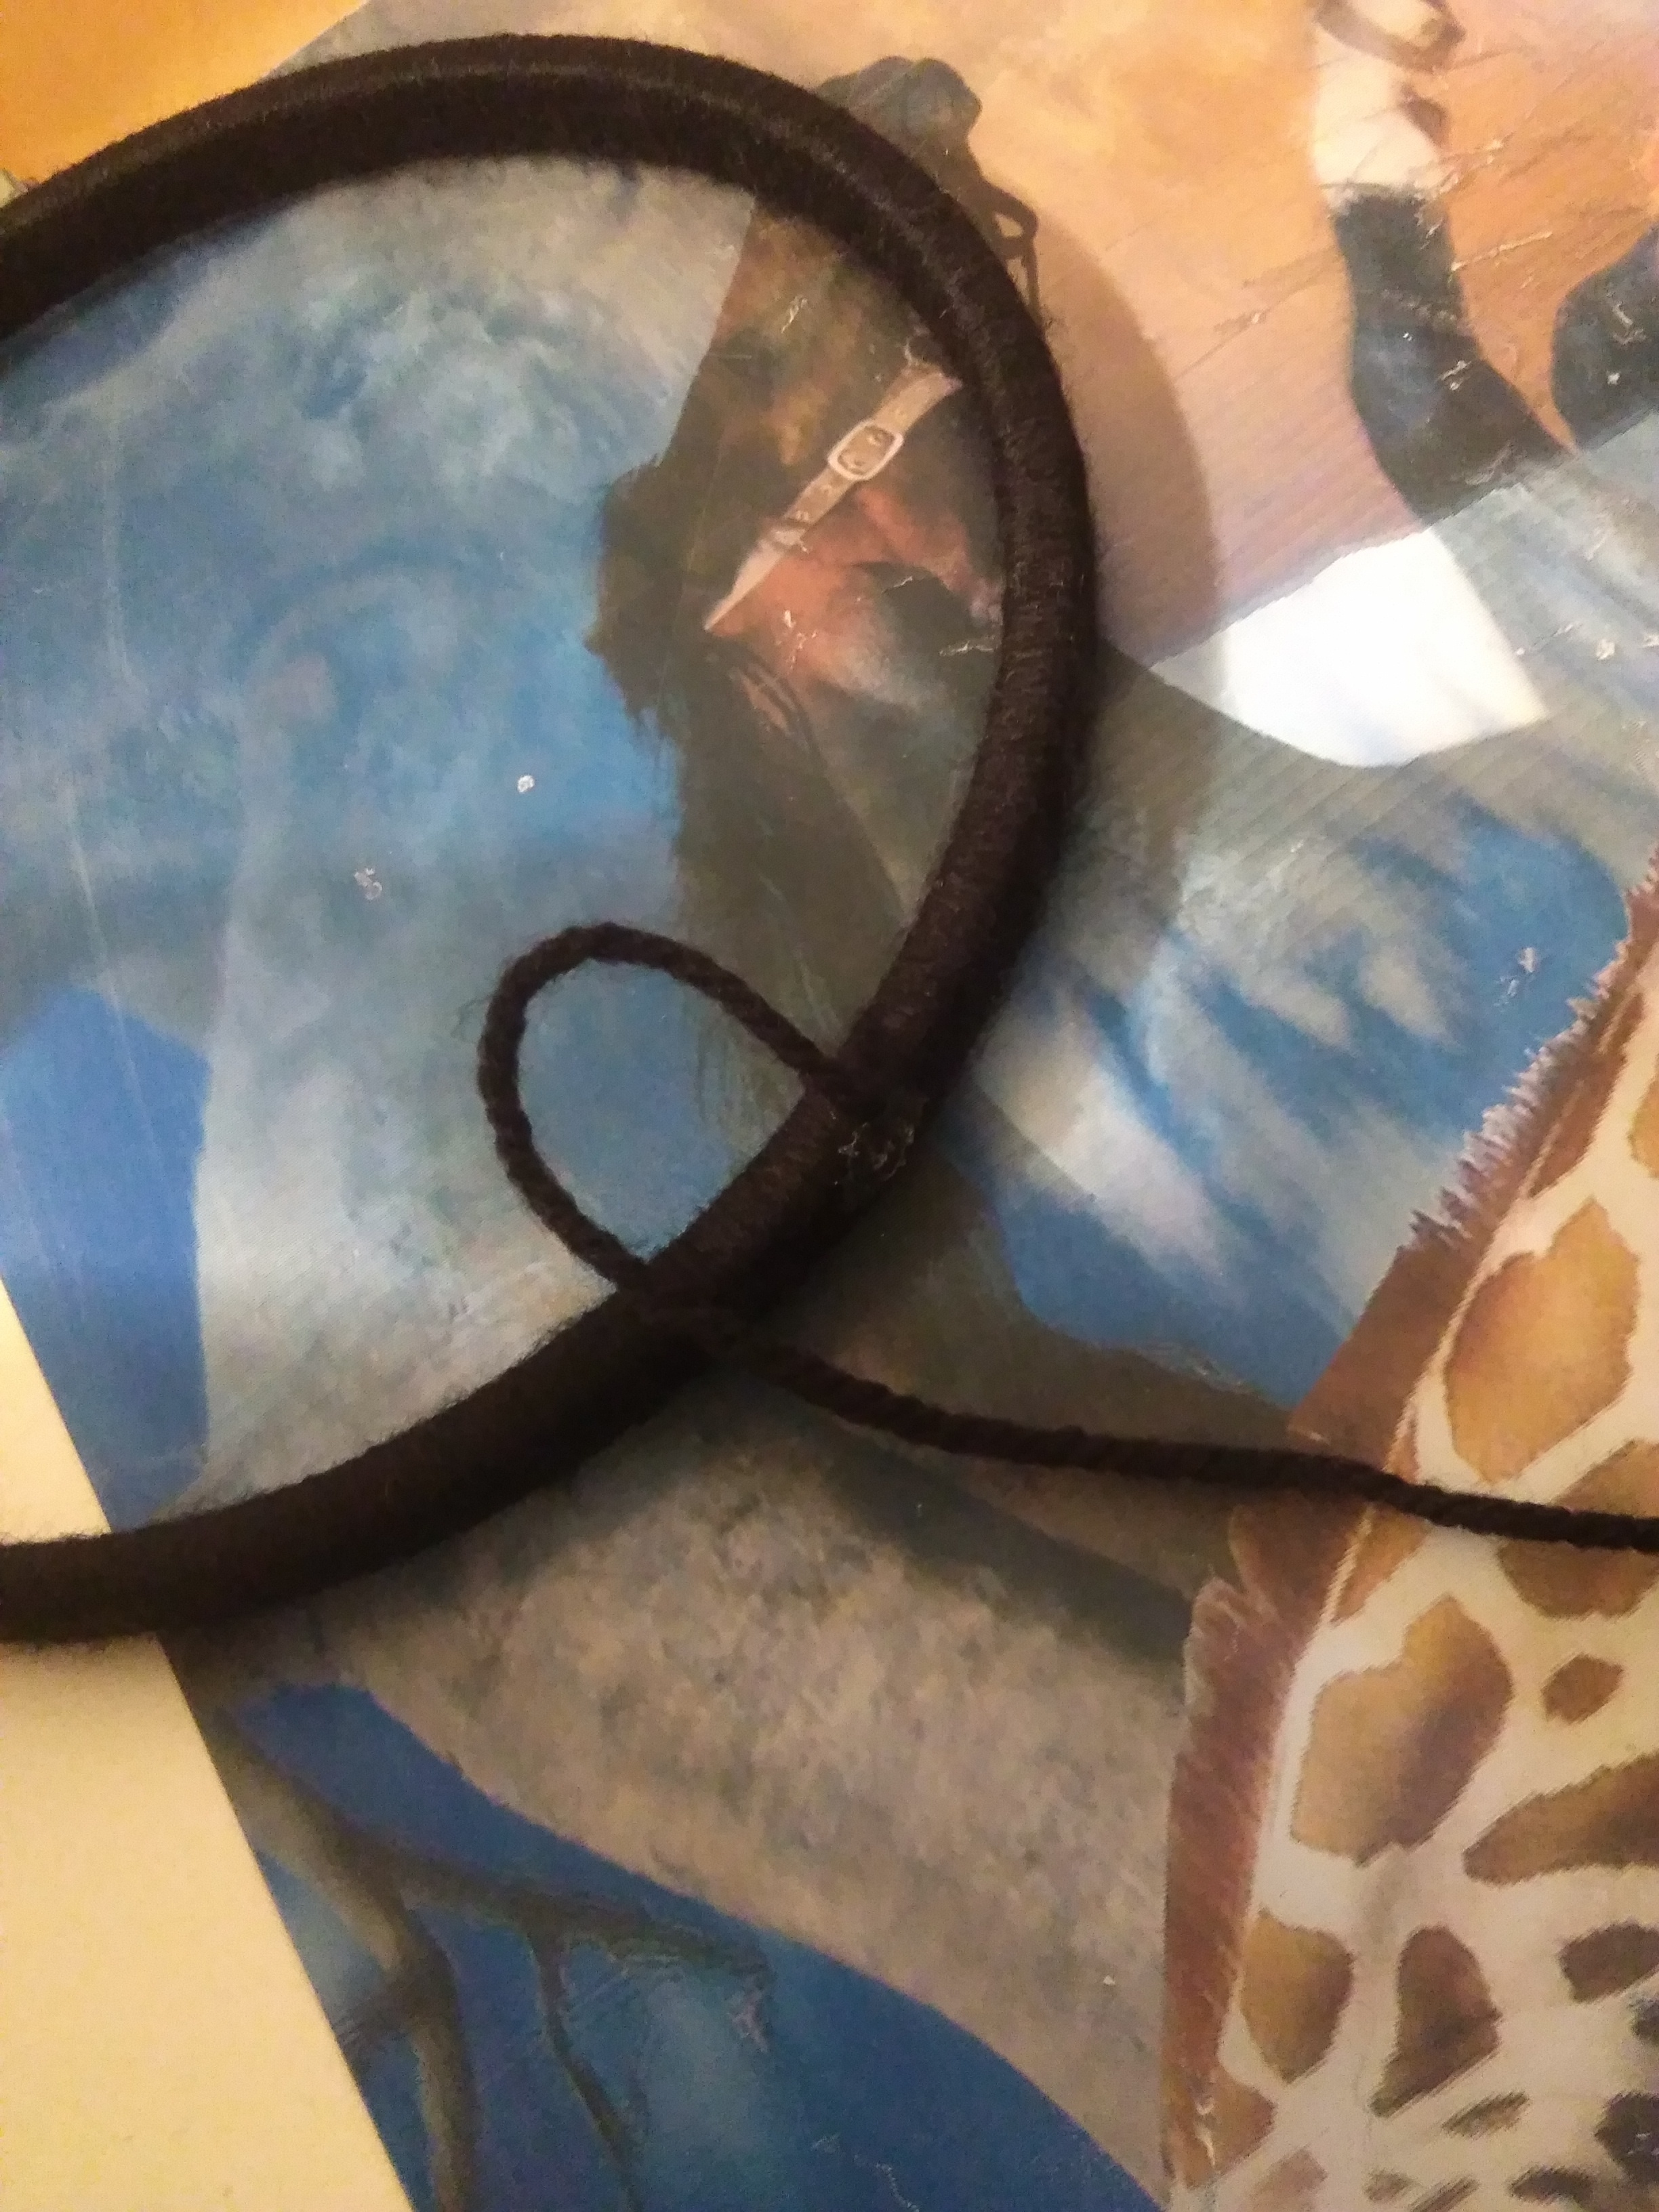
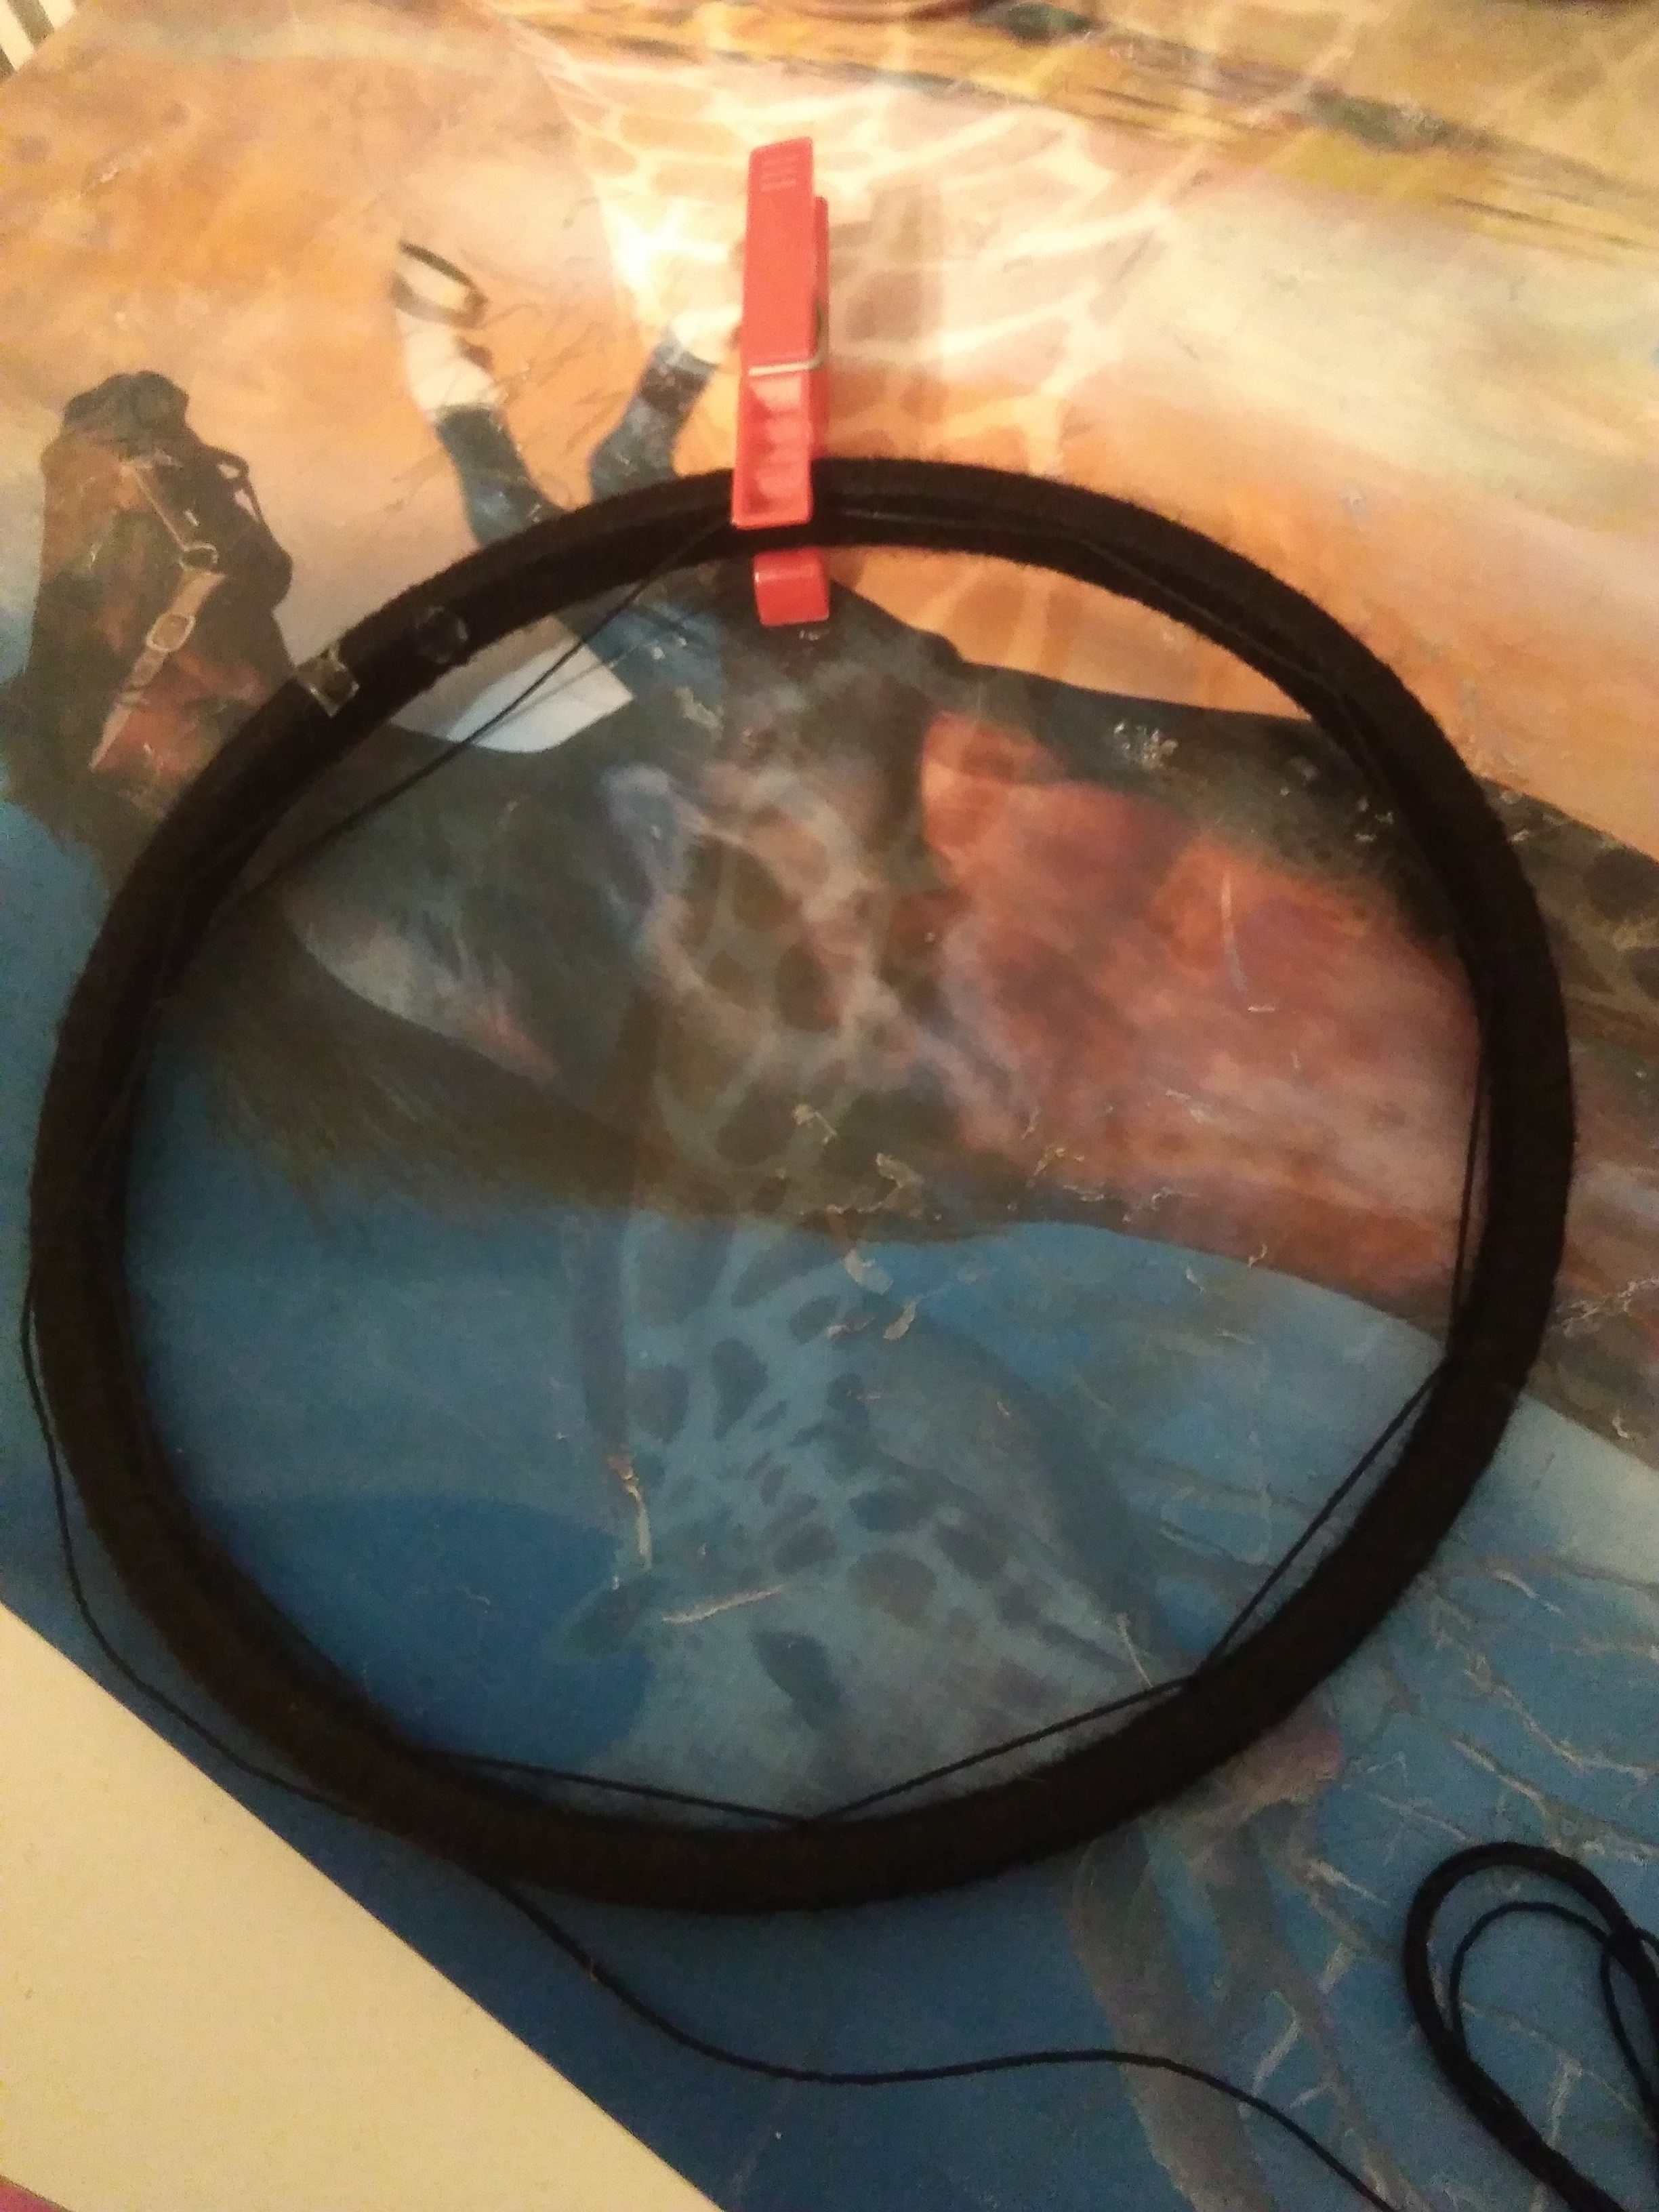
3. When loop is completely covered in yarn I fix it with hot glue and cut the excess off, par the way, if toi have to take a break during the making of web ou wrapping ALWAYS pin the yarn ou thread with tight cloth pins unless toi want to redo everything...
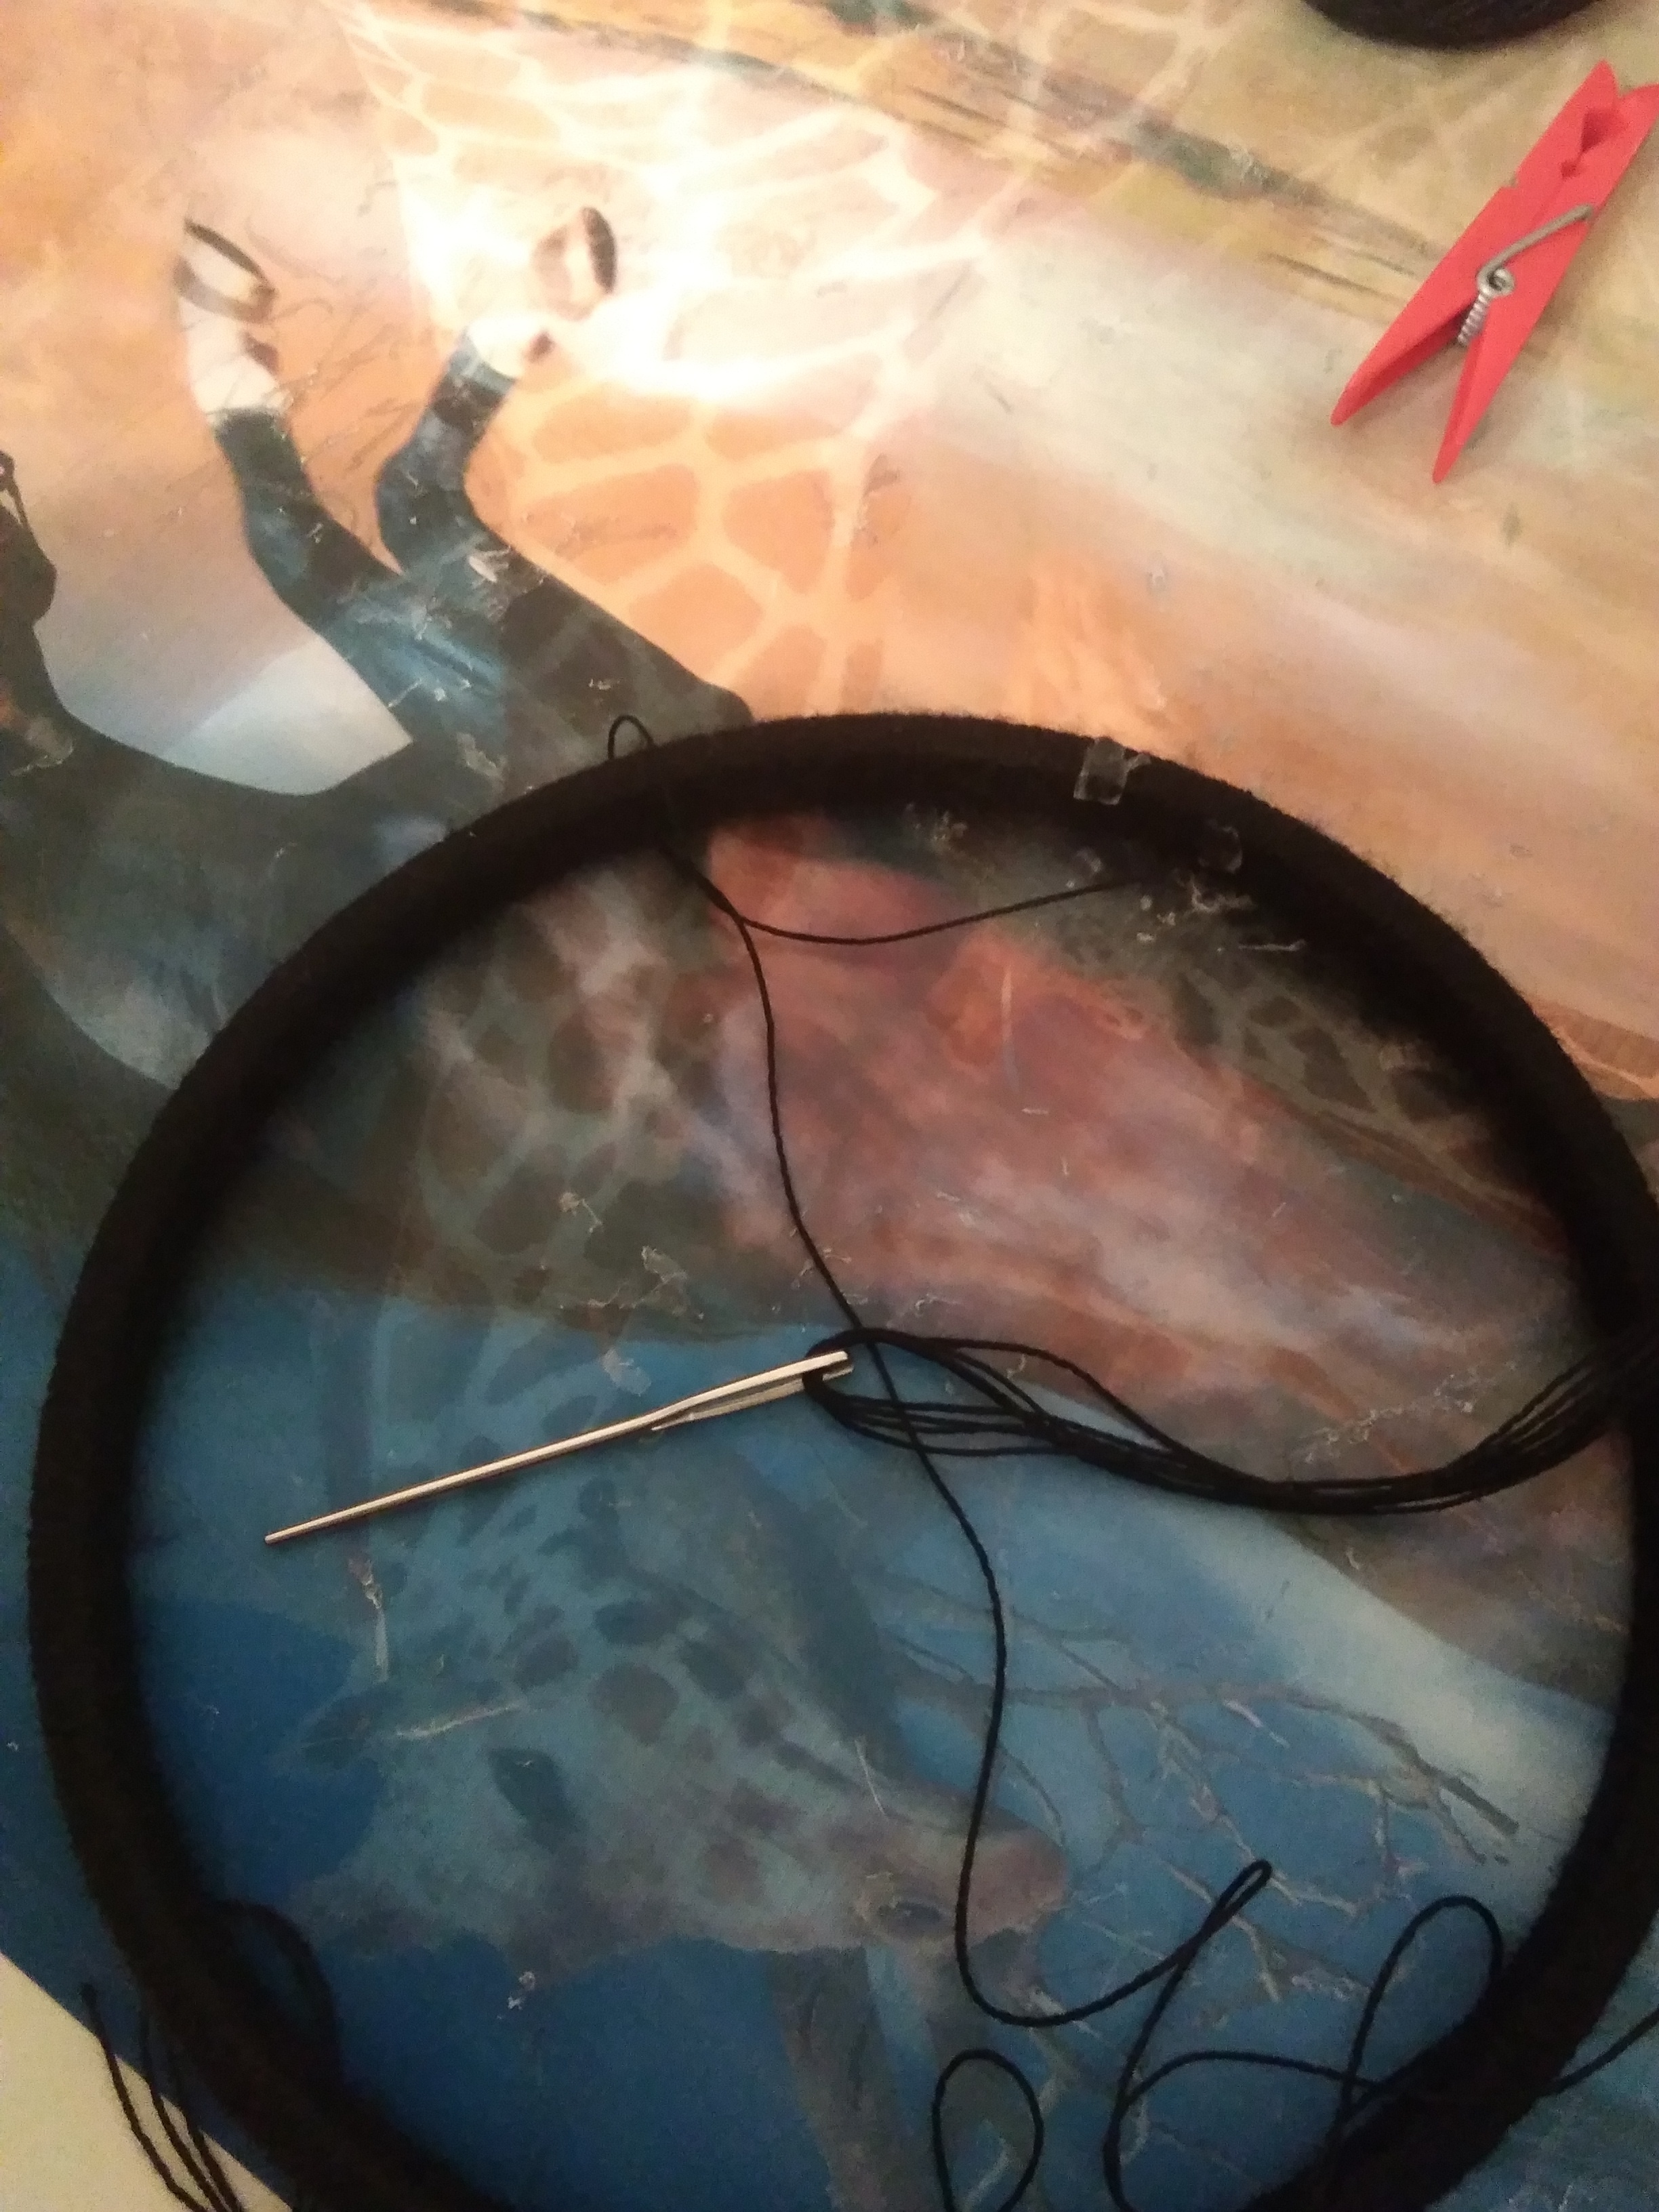
4. Okay, now the interesting process starts. I use some crocheting thread for making middle webs, glue the end to the loop tightly, cut off a long piece and put it in my huge needle I use specially for dreamcatcher making. Then I just start to go around loop like this:
The most important thing is to keep the same distance between little loops in first circle.
So then I just go around like this...
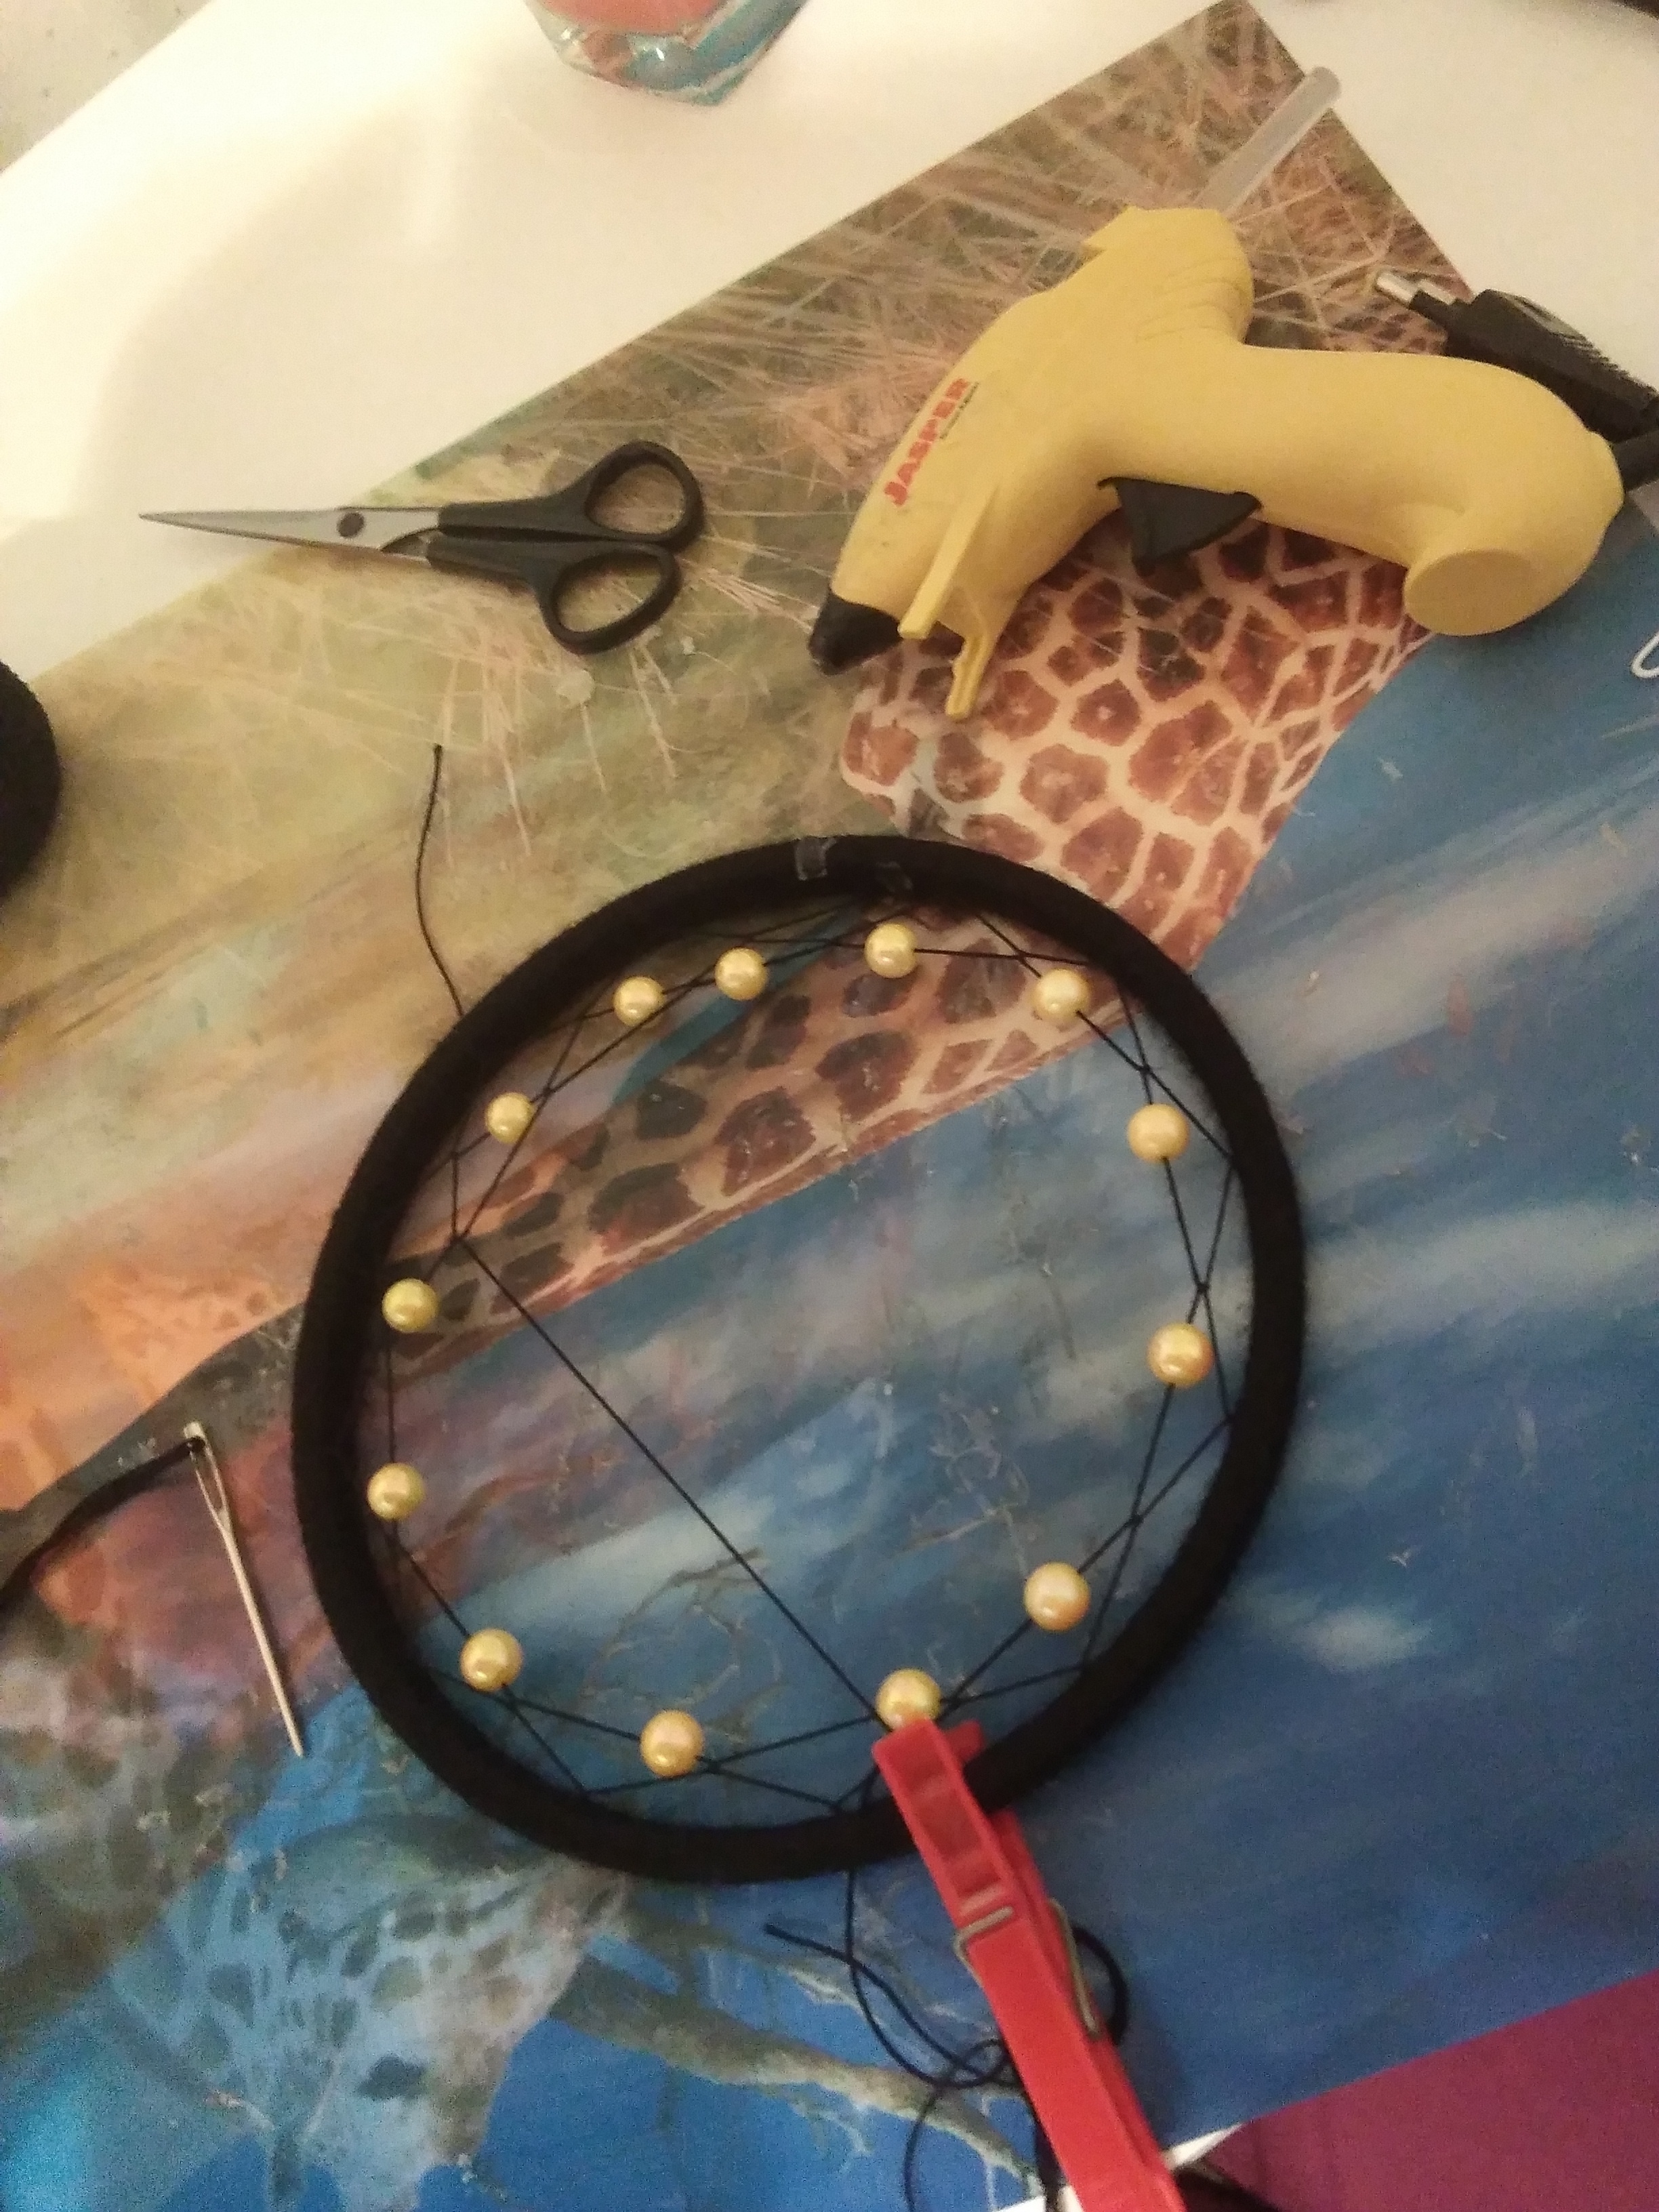
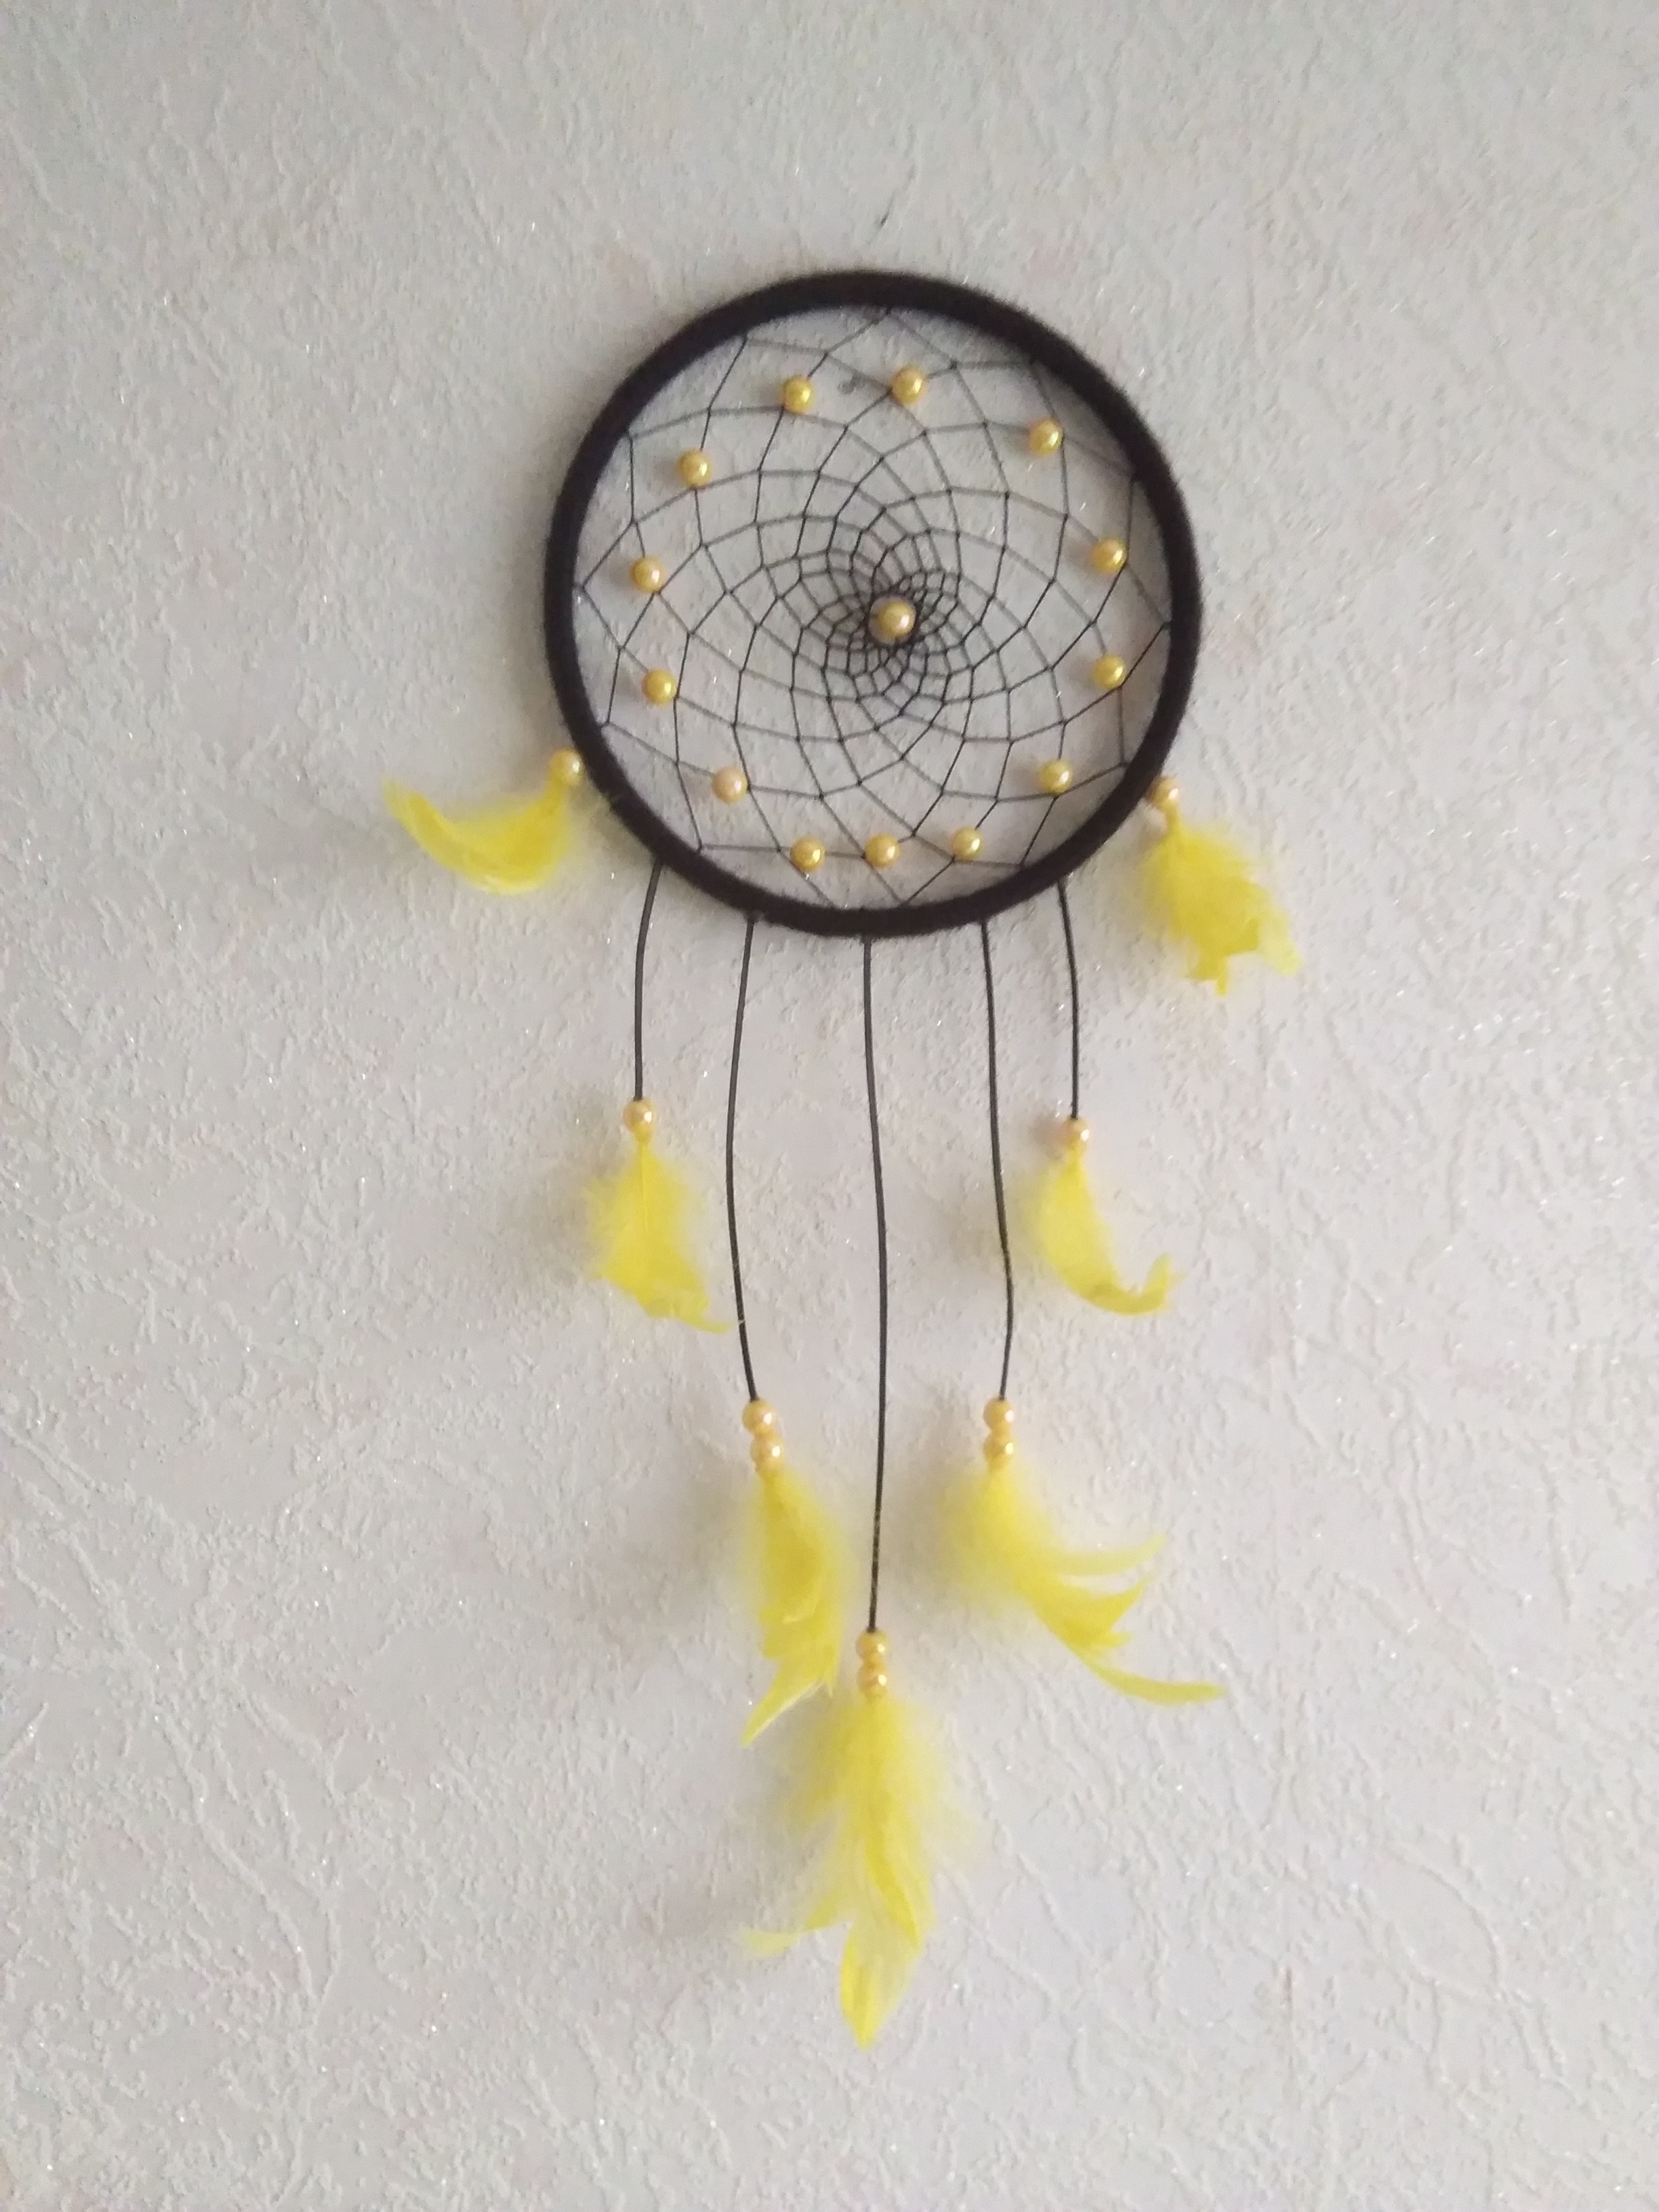
5. And as toi can see, this time I did something I do a quite rarely - I put some beads in the seconde row of web, putting beads in web makes the whole process a bit longer and plus difficult but result is definitely worth it, isnt it?
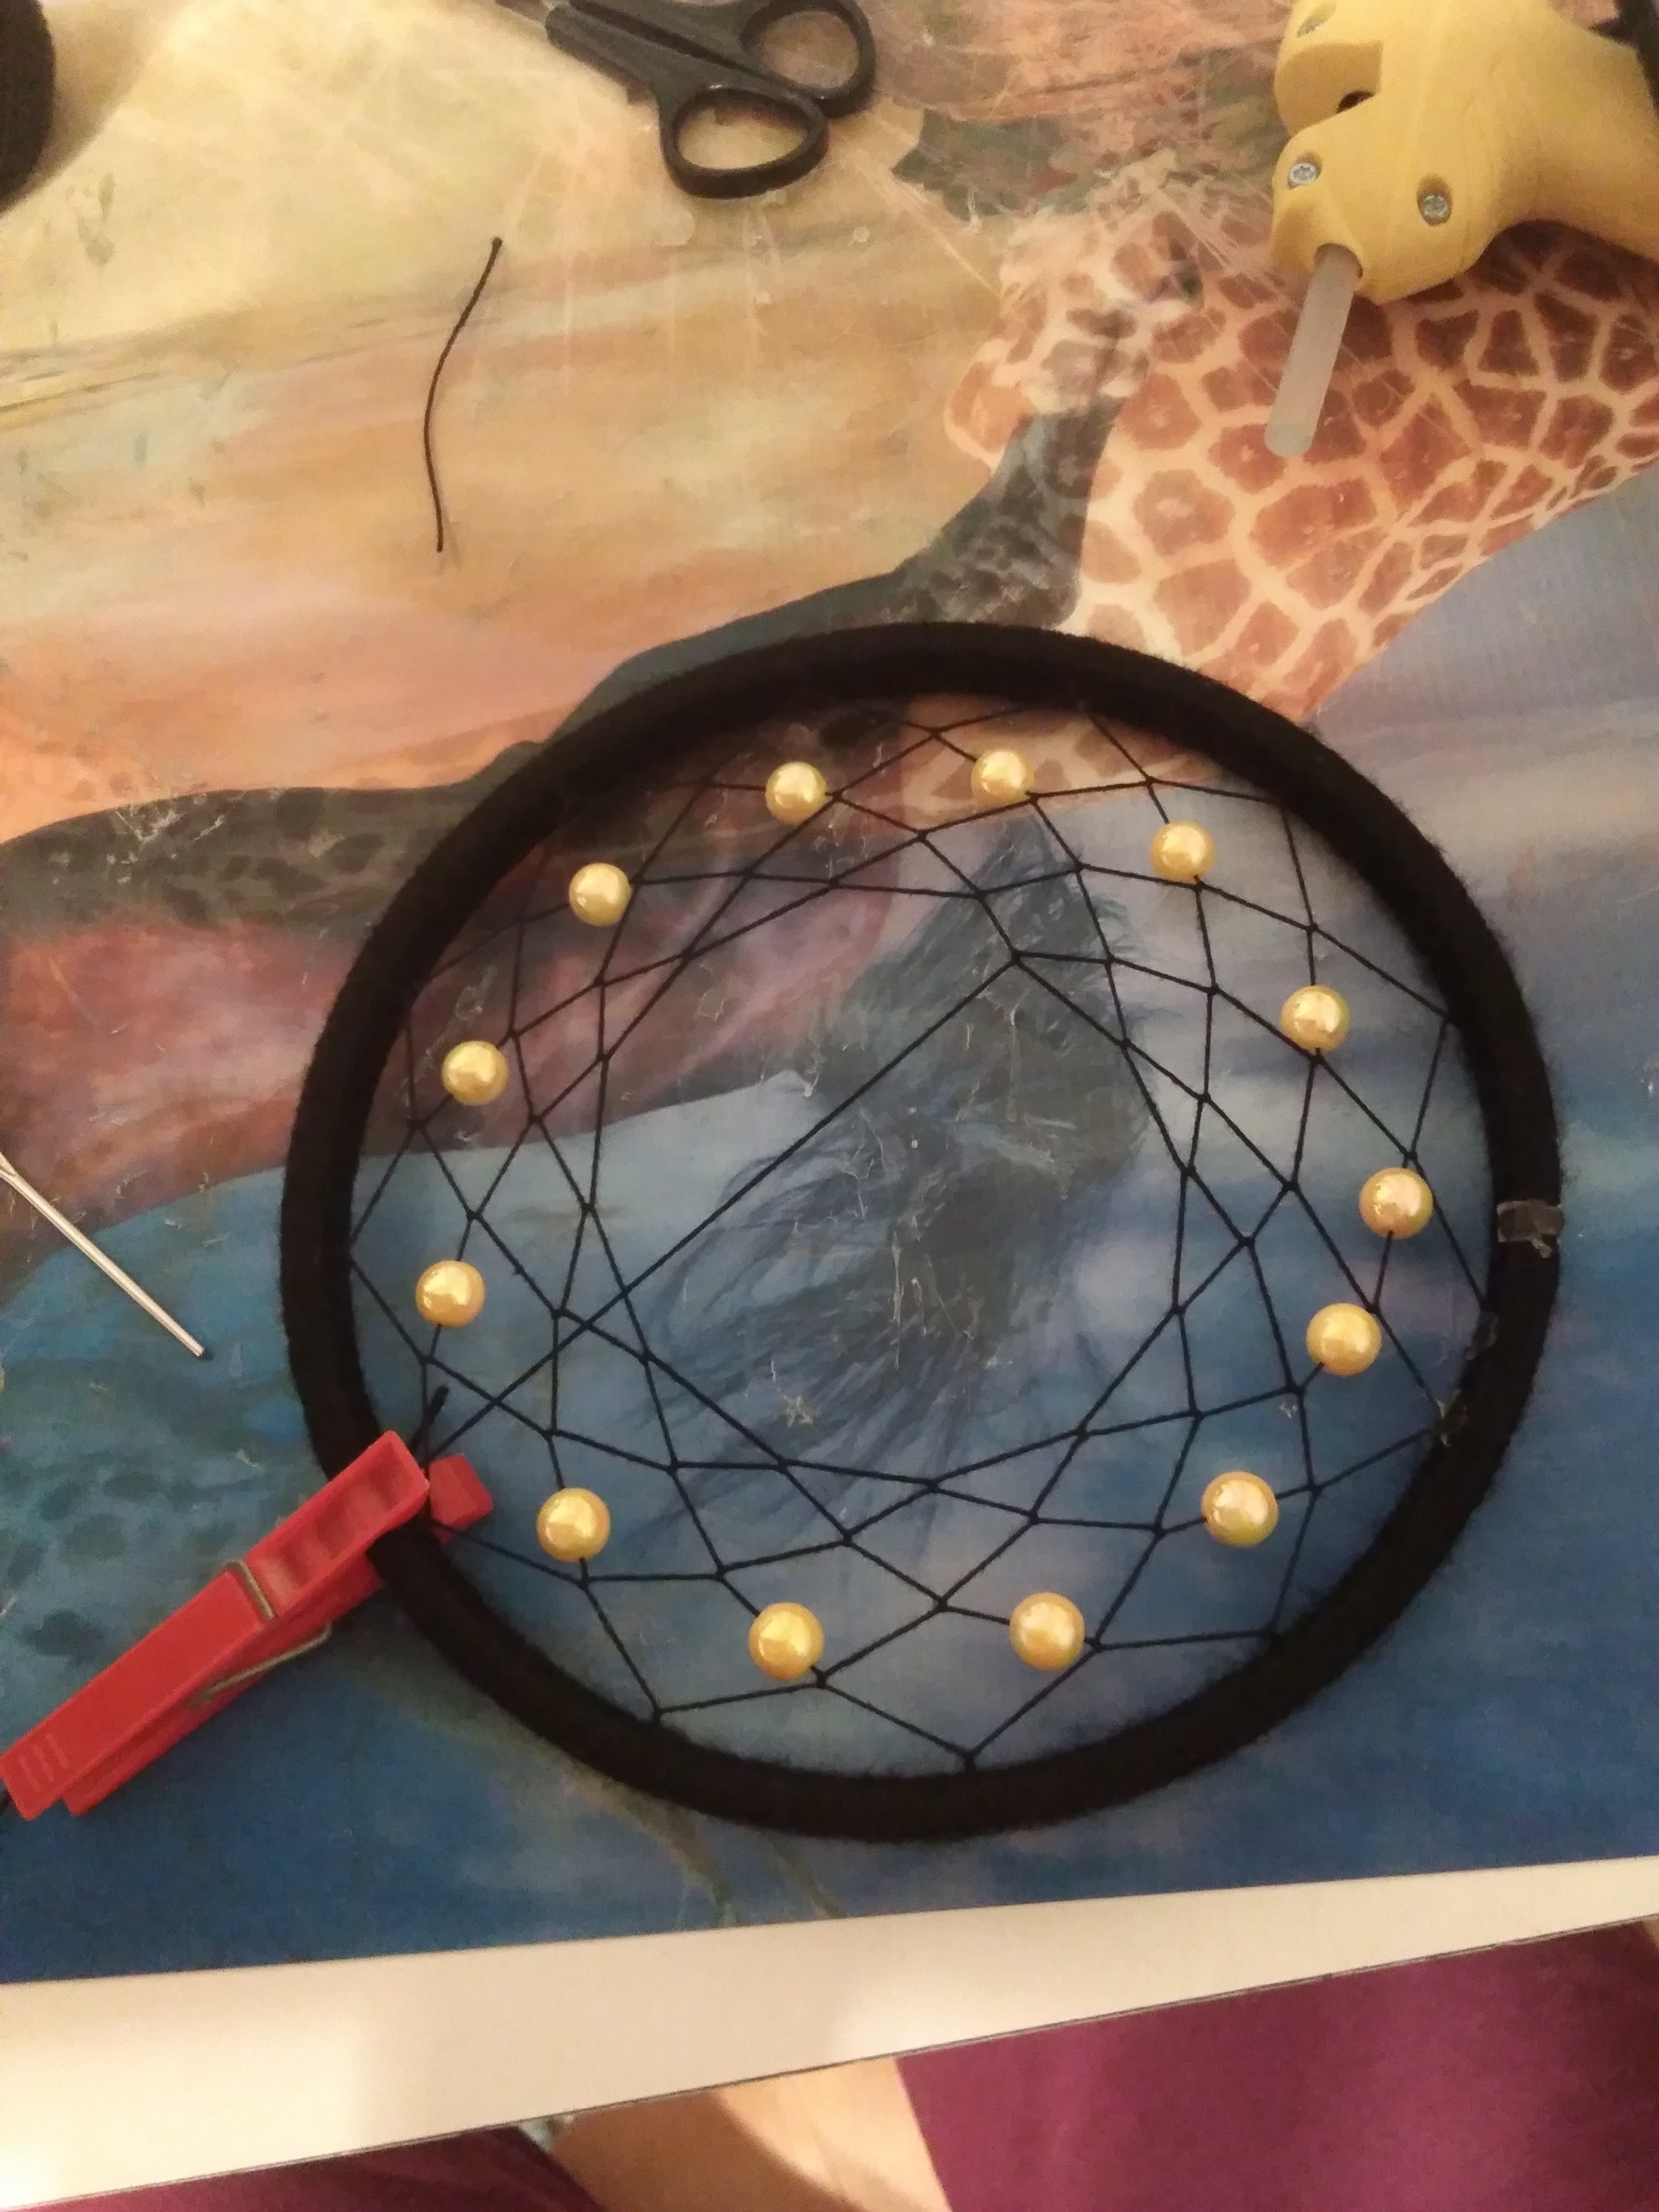
And then I continue impressioning a spider...

6. When I finally reach the middle I secure the web par gluing a bead to the thread in the middle and the web part is finished. par the way, many people have asked me how do I make the hot glue so smooth and invisible (okay, it's visible in photos but it won't be noticeable when dreamcatcher will be finished) and the answer sounds a quite masochistic - I press it with my fingers, yes I smoothen very hot glue with my bare fingers... Of course it's sometimes painful when the glue is still too hot and I have had burn blisters in my fingers but that's nothing horrible for me, it usually heals in a few days and doesn't hurt. And now I have a kinda learned to tell when glue is still too hot and when not hard yet, but sûr, sans danger to touch.

7. Now comes the process of adding bottom part of dreamcatcher. I take feathers, plus beads (and glue gun of course) and for this dreamcatcher I used leather strings, but for some I have used braided yarn. Then I cut leather into different length pieces (lengths depend on the size of loop).

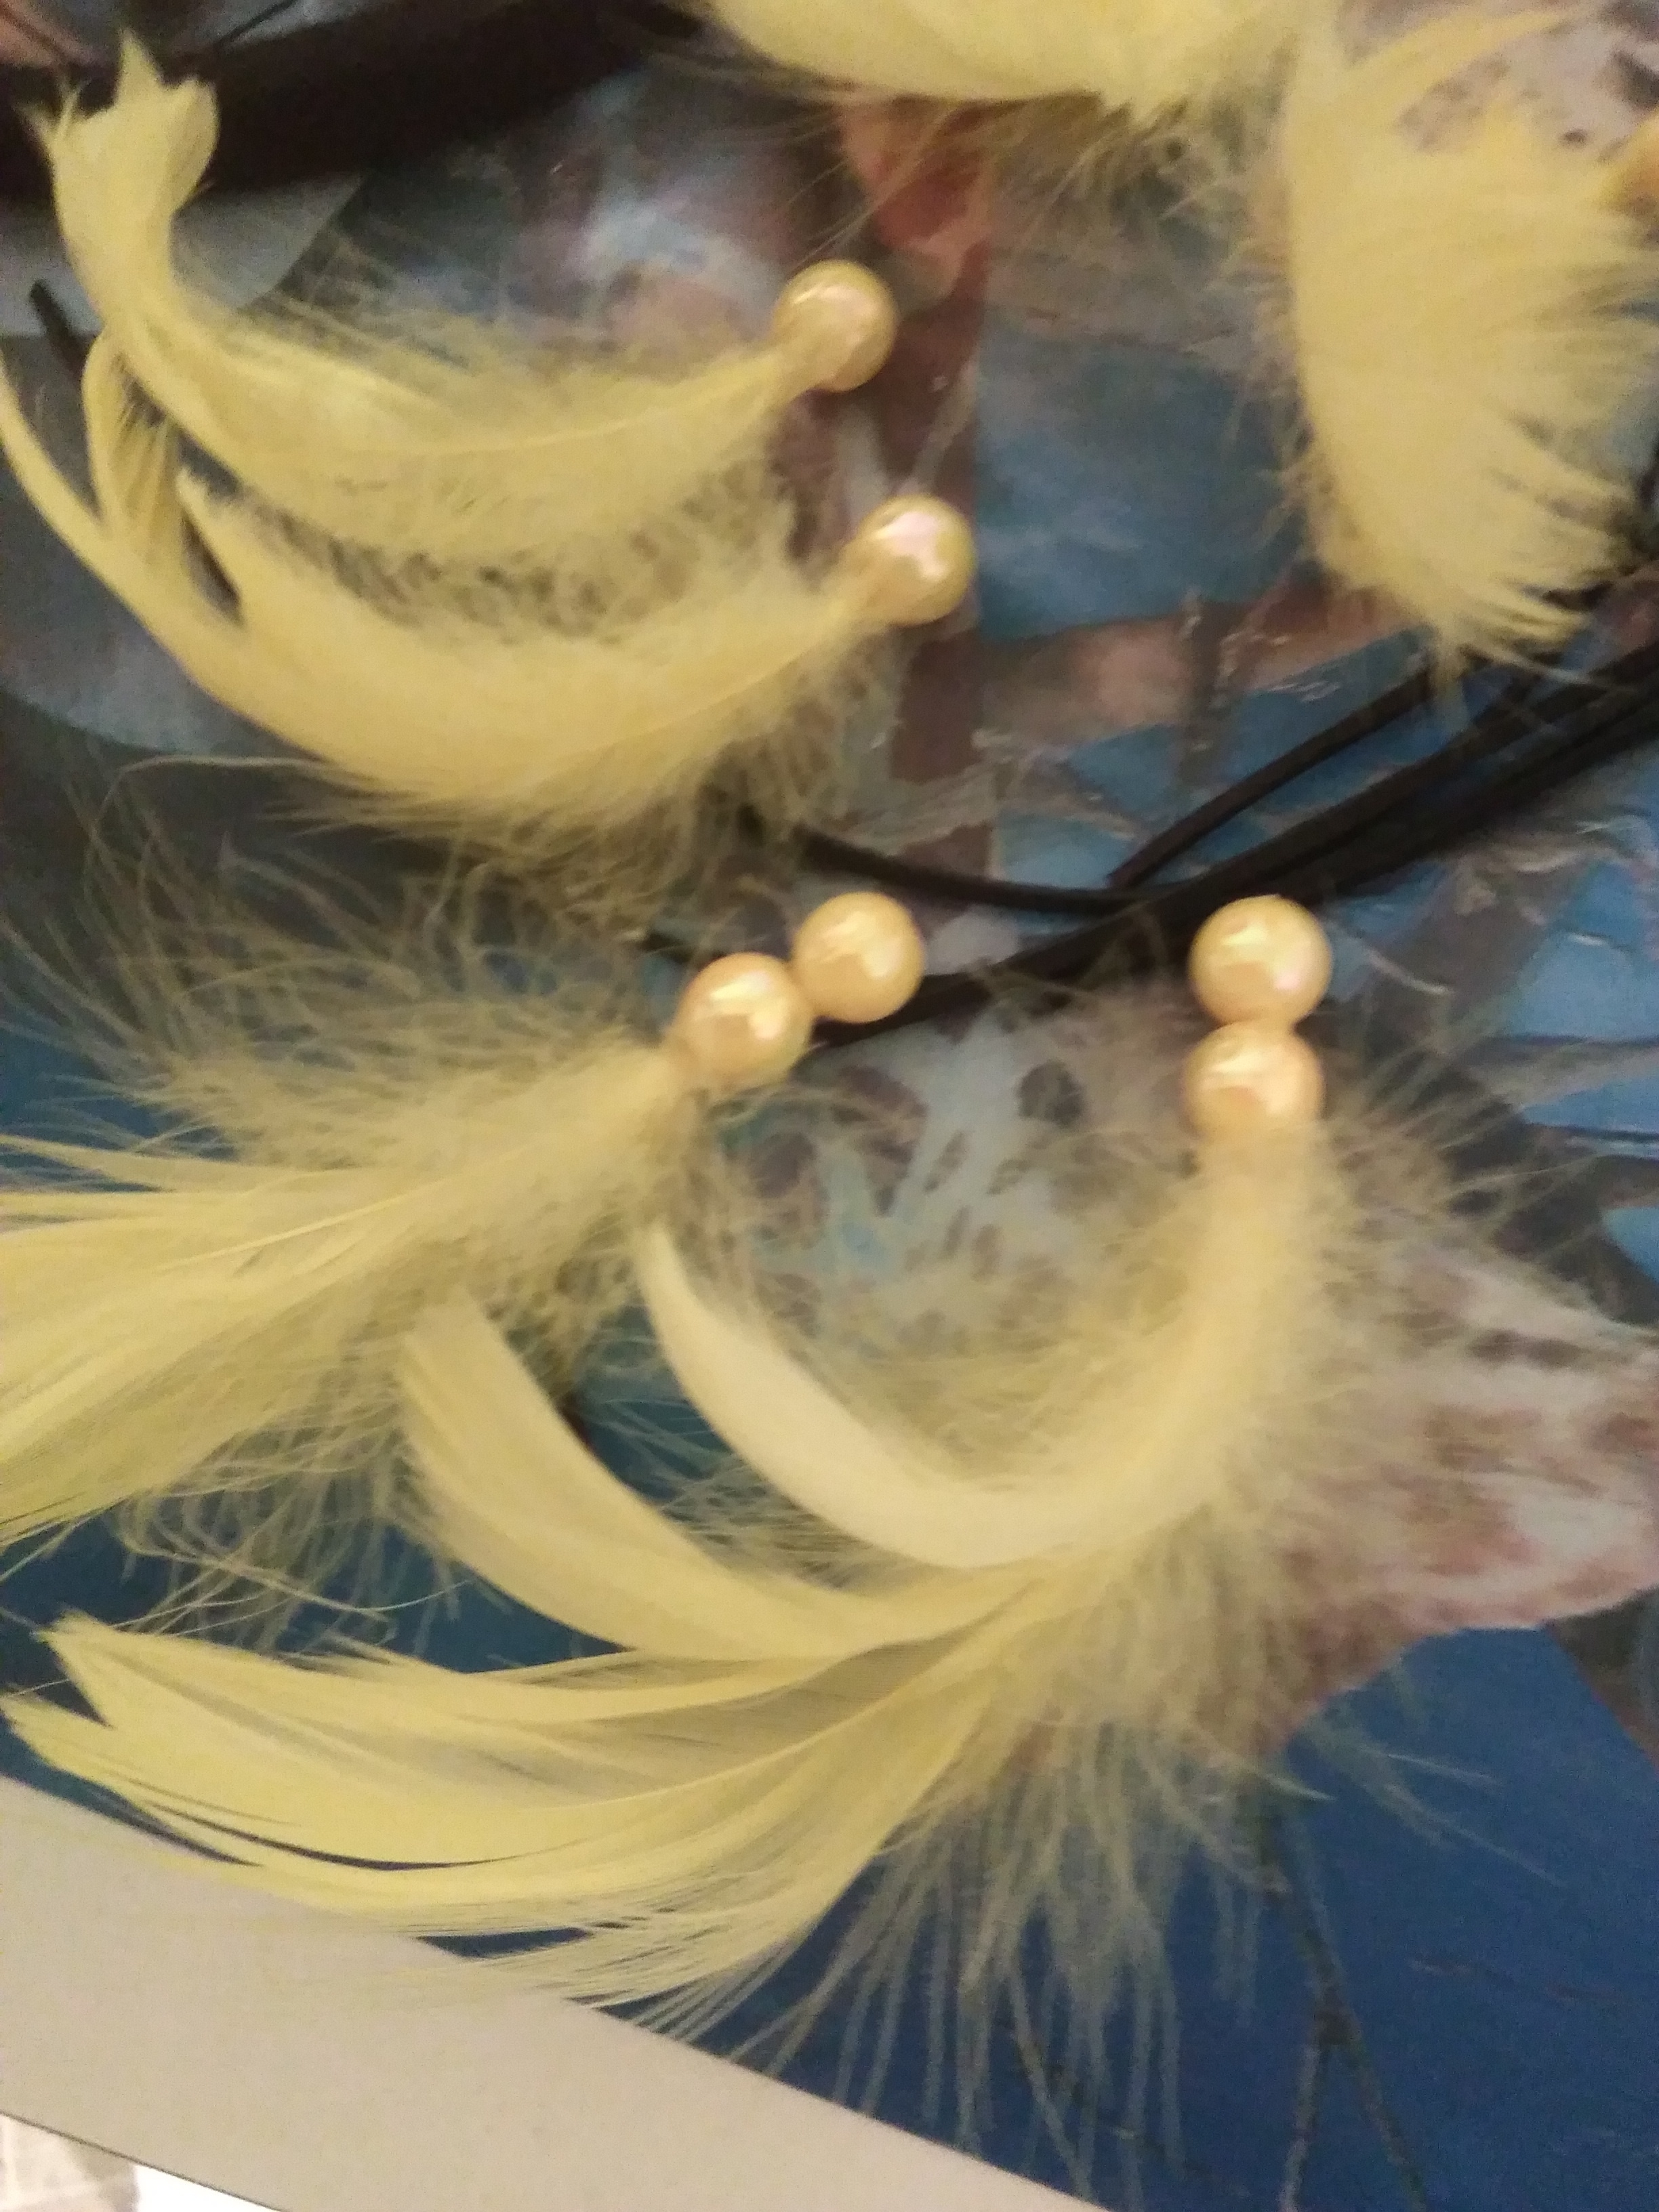
8. Now I fill the middle holes of beads with glue and put in feathers, then glue two ou plus beads together for some (as toi can see in photos)
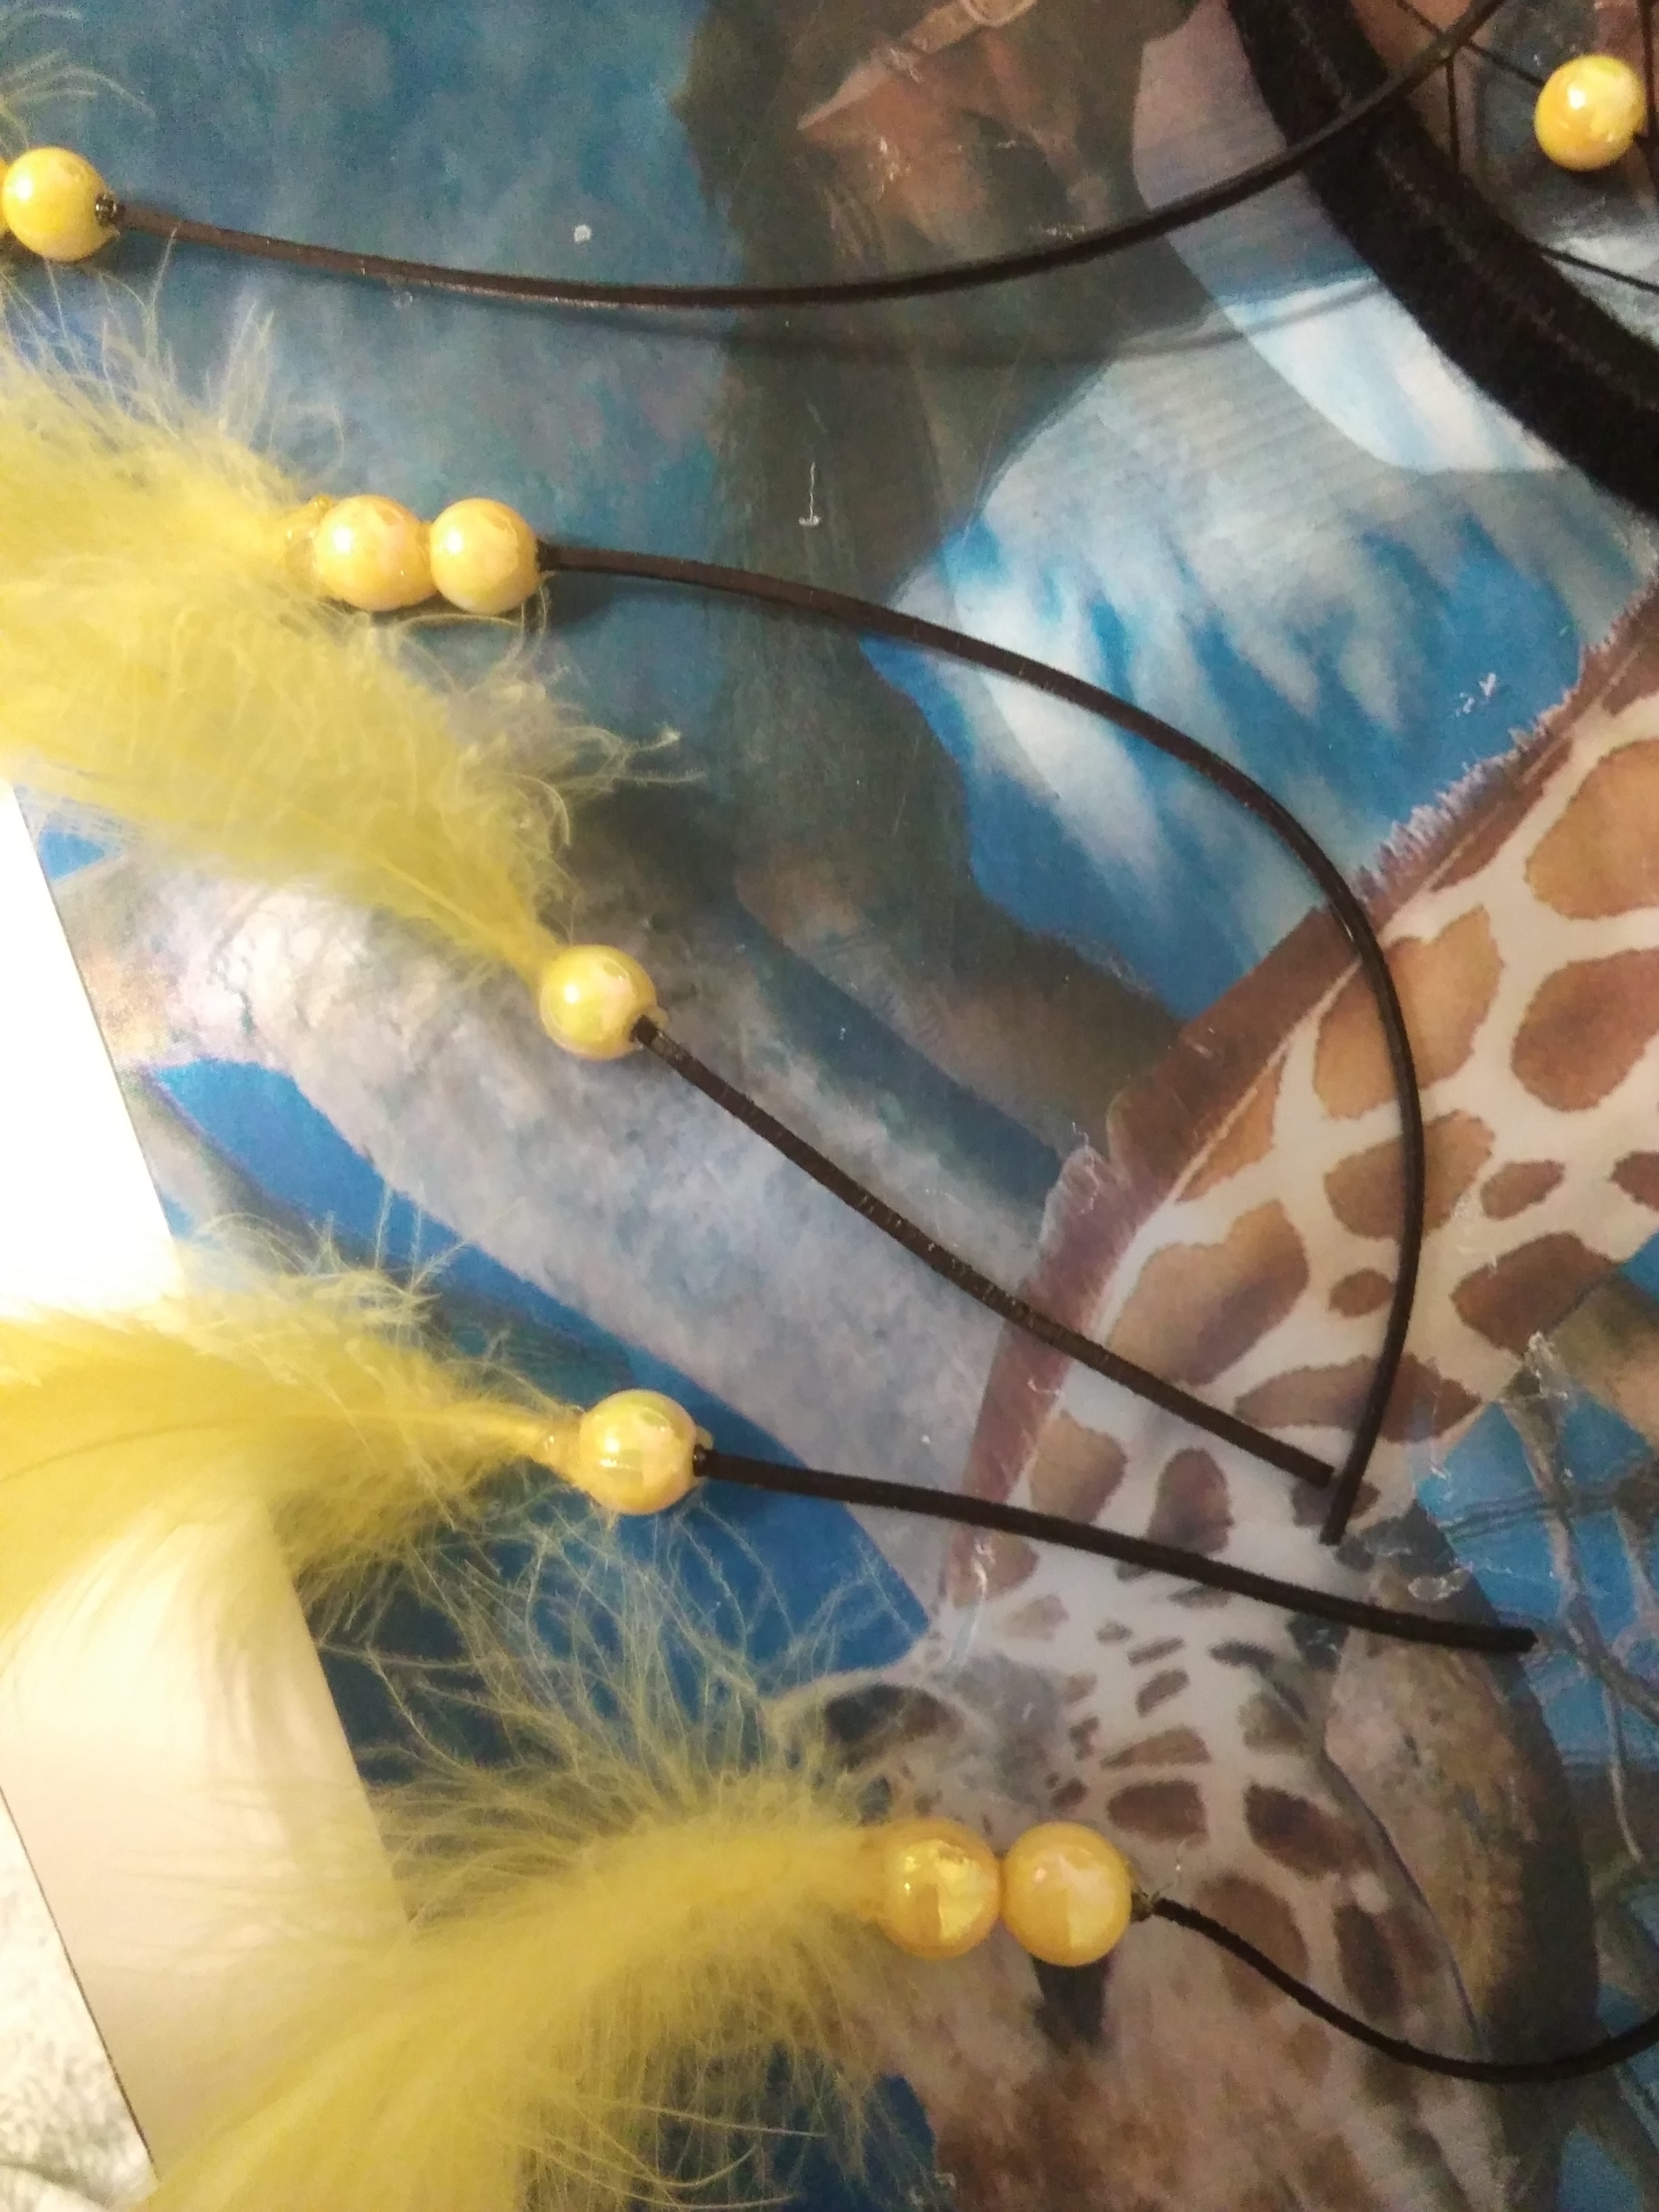
9. Then I put ends of leather strings into other side of beads hole, were there is still warm glue inside (you have to do 8. And 9. Step very fast so glue doesn't harden)
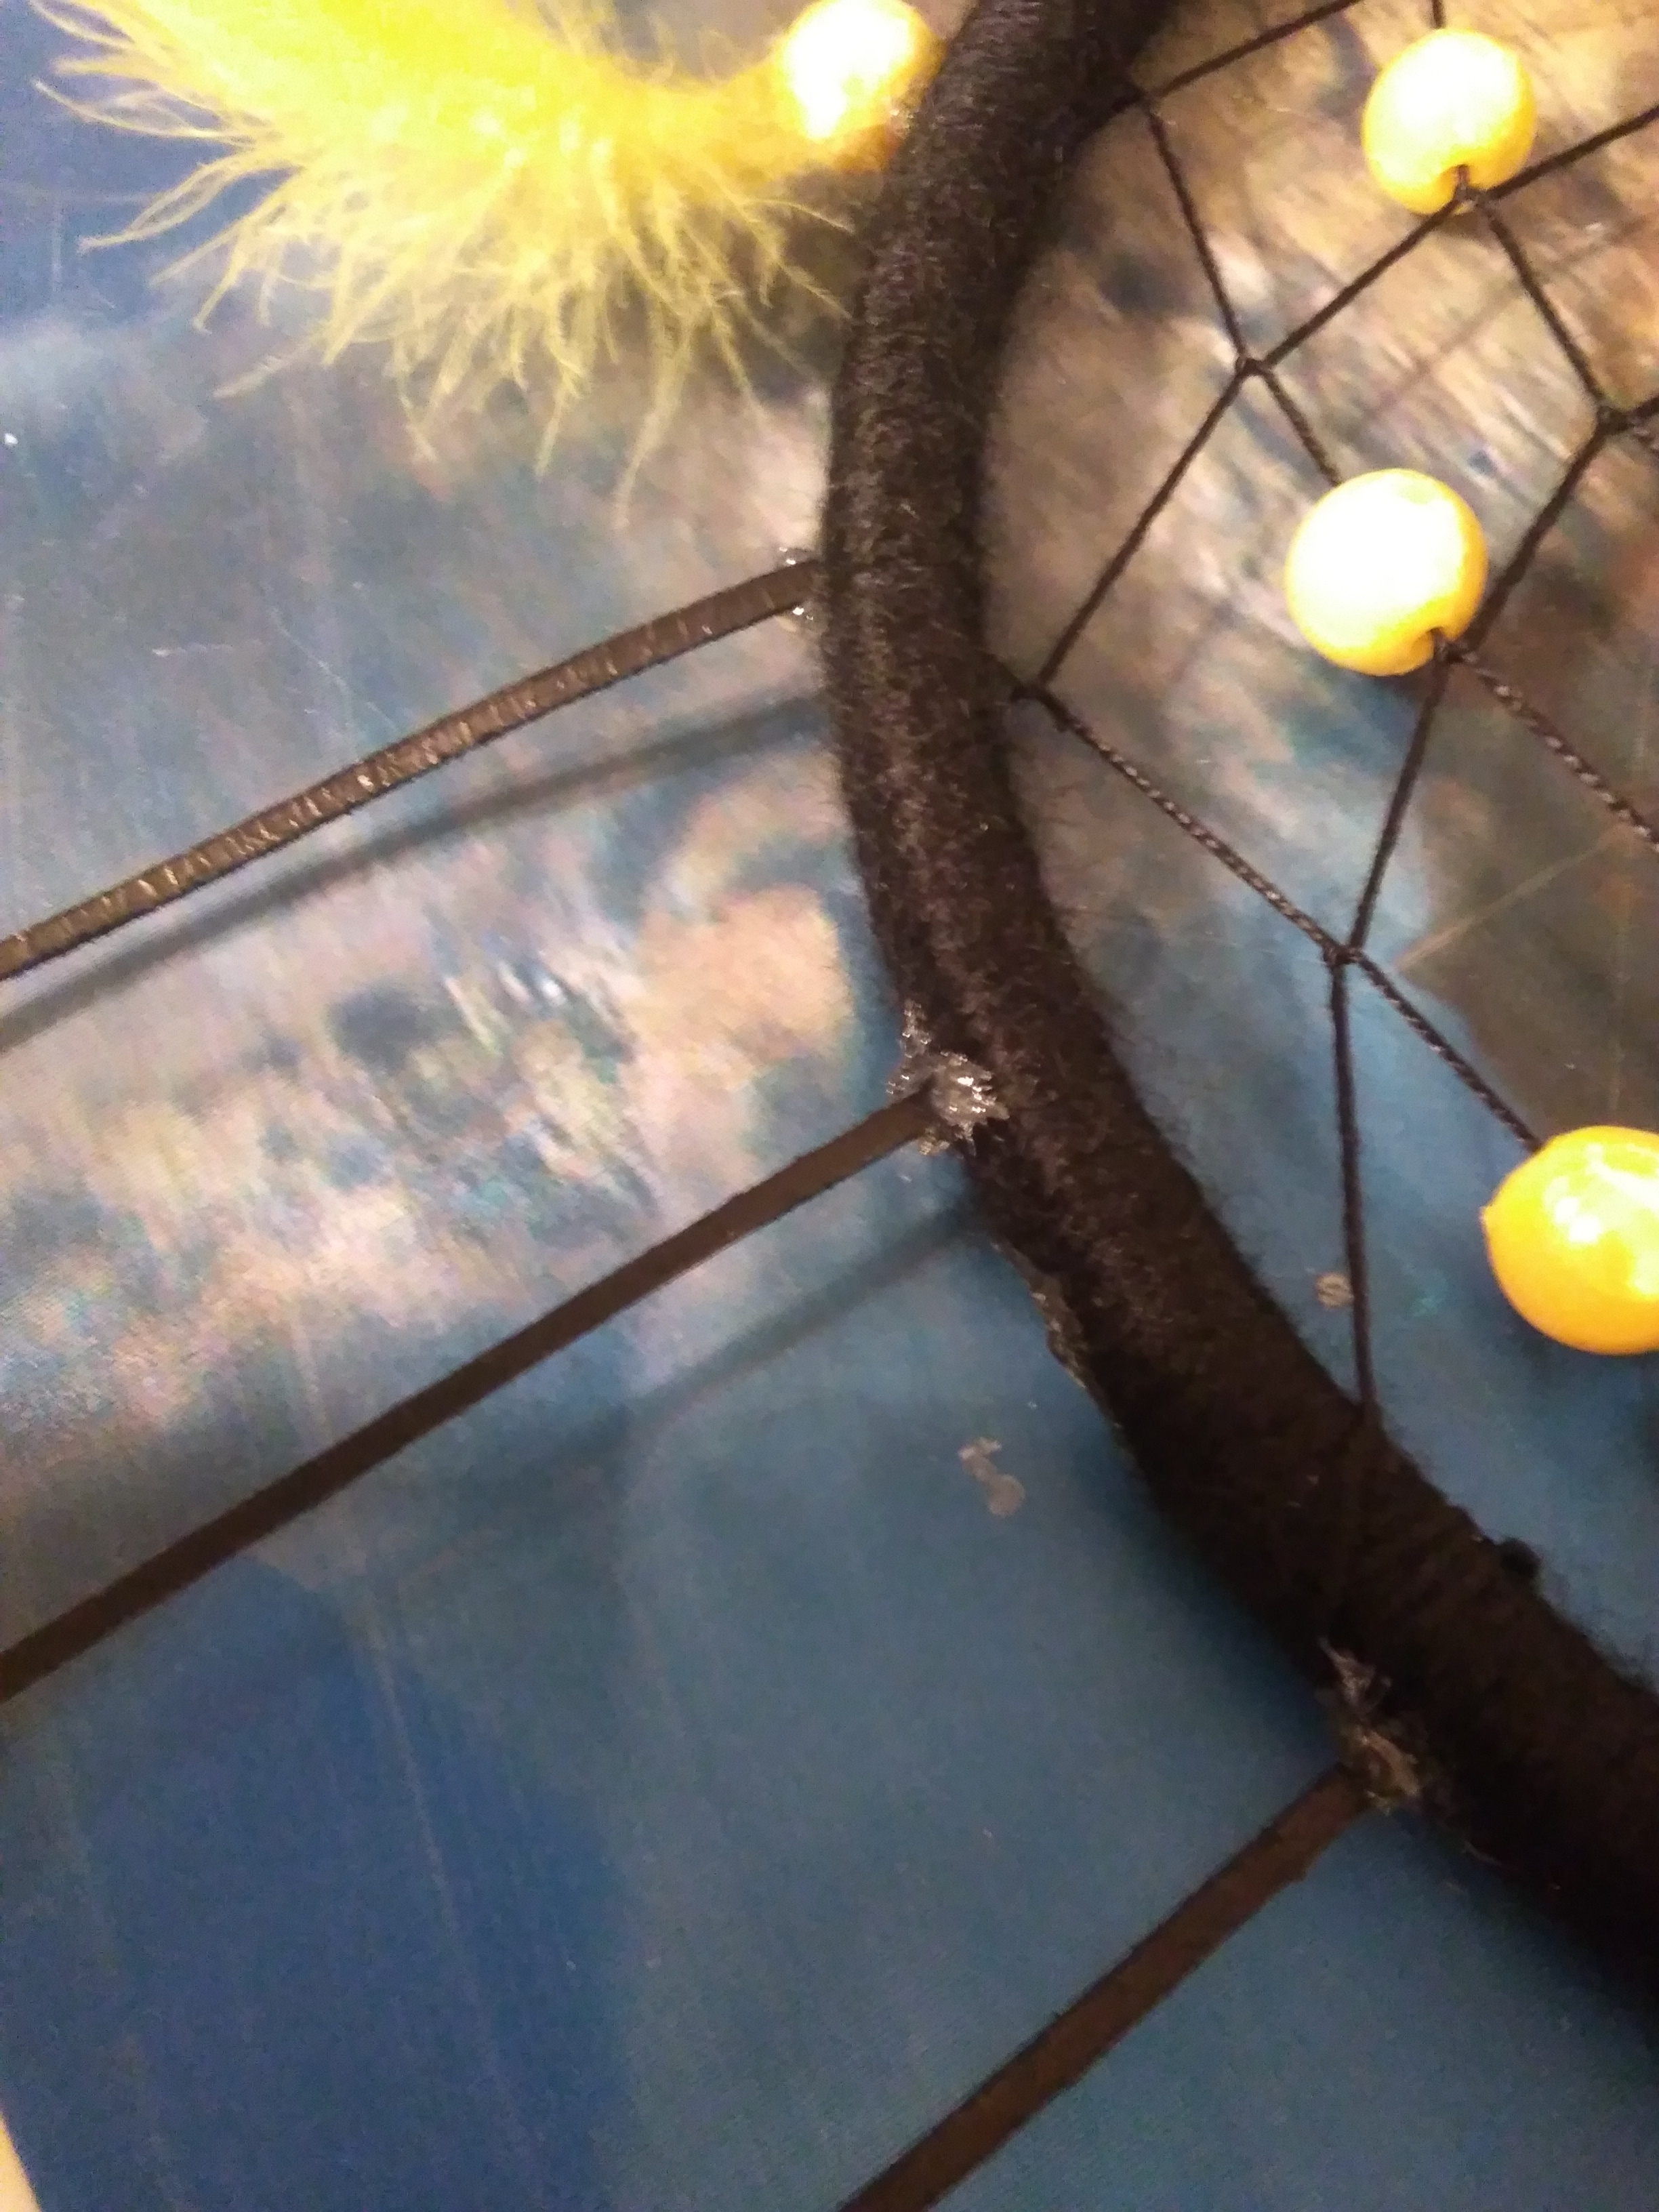
10. Then I attach other end of leather strings to the bottom of dreamcatcher (hot glue again) also I add two beads with feathers without leather string, these two make the result look cuter, and it's done! The dreamcatcher is ready to be hanged on mur (however I usually wait for a couple of minutes for all that glue to harden)
And that's it!